Game Development Reference
In-Depth Information
has seams where strips of fabric are sewed together. Look at most any shirt
and where the sleeves are connected to the bodice section, there is a seam.
Your pants likely have a seam down the inside of the leg and another on the
outside. These clothing seams are perfect places to allow UV seams to occur
and allow for much more easily created distortion-free shells.
New Material
Step 9:
Create a new material for Aegis. Right-click-hold on Aegis and
choose Assign New Material from the hotbox menu that comes up.
Create a lambert material in the Assign New Material window. This
should open the new material in the Attributes Editor. Name the material
AC_AegisChung_Mat
. In the Color channel import our good friend
Checkerboard.psd (which should still be sitting in the sourceimages
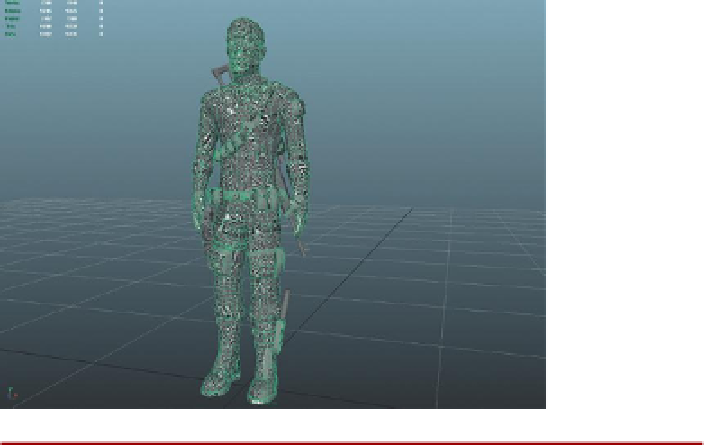
folder of the project). The results will be a tremendous mess (
Figure 9.4
).
Figure 9.4
Aegis with
Checkerboard.psd assigned.
Tips and Tricks
Remember that to see any texture applied to a mesh, 6 must be pressed
on the keyboard while the mouse is in the view panel the texture should
be visible in.
Why?
A mess indeed. A close look at the mesh will show chunks of him without
texture, and other parts with squished checkers and still others with
stretched checkers. For an even better look at the mess, open the UV
Texture Editor (Window>UV Texture Editor) and take a look at that
(
Figure 9.5
). Basically, the UVs are all over each other. There are UVs that
fill the entire quadrant, and others that may be just a sliver. Either way,
ultimately, the goal is to take this jumbled collection of UVs and unfold
them all into easy-to-see, easy-to-paint shells.