Game Development Reference
In-Depth Information
Figure 8.83
Added geometry to allow for added bending and to better define the form.
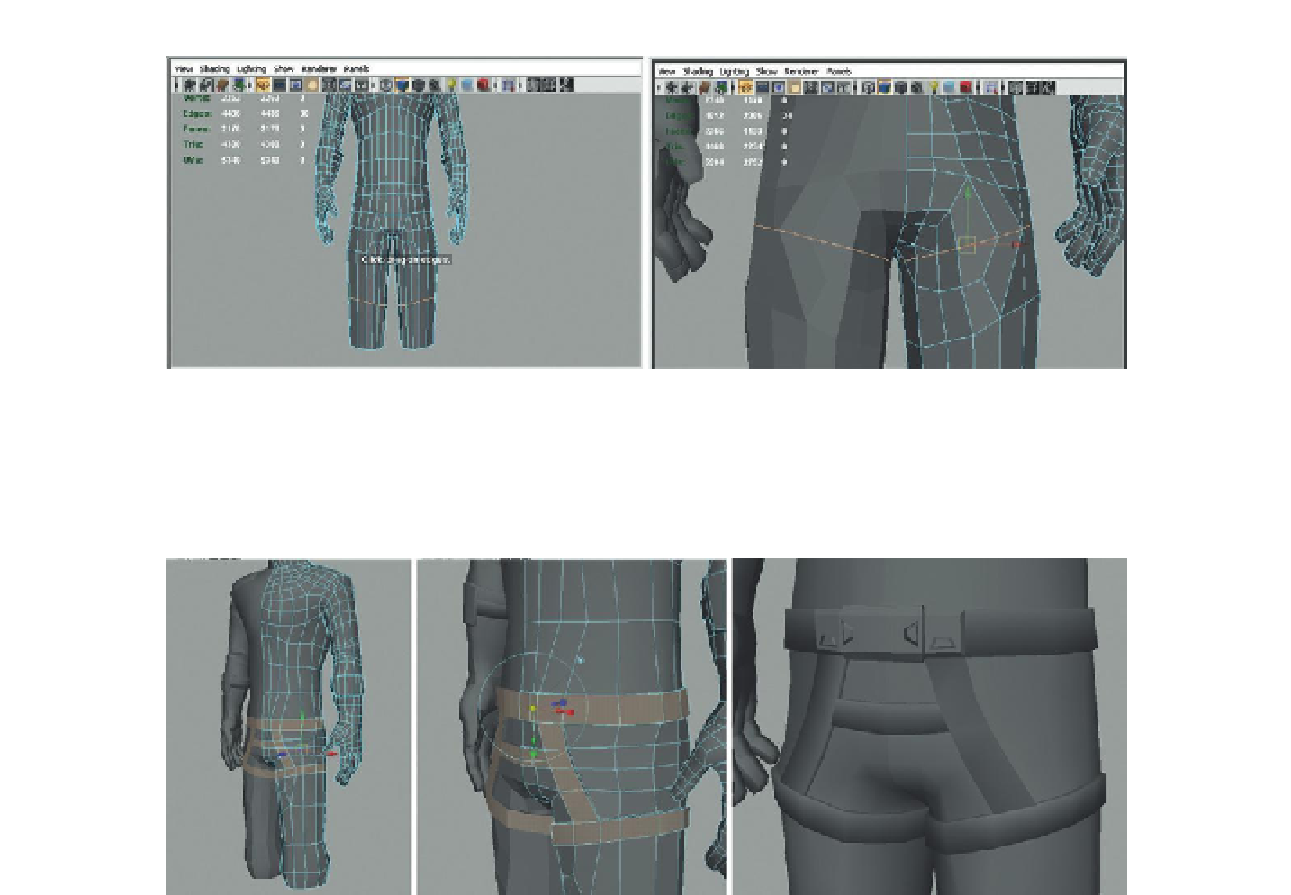
Step 101:
Model the harness from existing polygons. Do this with
previously discussed methods of extruding new faces and appropriately
hardening the edges (
Figure 8.84
).
Figure 8.84
Harness modeling.
Step 102:
Refine the knees. No new techniques here, but notice in
Figure 8.85
that there are 12 rings to define this knee area. Some are for
allowing the bend to deform properly with joints, but some are to help
define the bunching of the pants over the top of the boots.
Step 103:
Extrude down a rough boot shape (
Figure 8.86
).
Step 104:
Close the bottom of the boot with the Append to Polygon tool.
Step 105:
Add detail via extrusions and inserted edge loops (
Figure 8.87
).
Step 106:
Add a sole to the boot. Further extrusions. Notice that a few
extra loops are also added here to allow for the boot to deform right
around the ball of the foot (
Figure 8.88
).
Step 107:
Add pants (pocket detail). Use the same techniques as already
covered, but remember to make careful use of hard and soft normals
(
Figure 8.89
).
Step 108:
Tweak and sculpt as desired. The model as constructed thus far
is show in
Figure 8.90
.