Game Development Reference
In-Depth Information
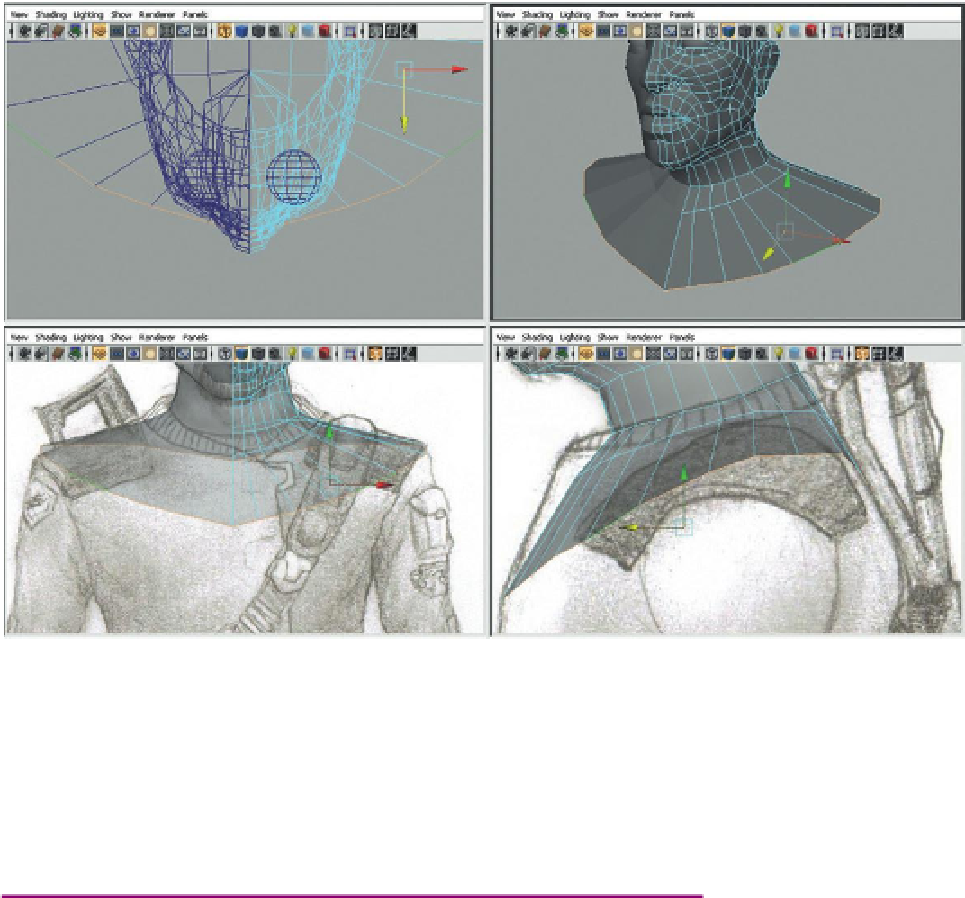
Back to modeling, the key here is that the bottom of the neck (as shown in
Figure 8.47
) has a ring of edges that we can use to continue on developing
the body.
Step 68:
In a couple of extrusions, extrude out and down to create the top
of the shoulders. Remember, sometimes the best way to manipulate this
new collection of edges is to select Extrude and then immediately swap to
the Move or Scale tools (
Figure 8.48
). Stop when the ring gets to the top of
what will become the arms.
Figure 8.48
Extruding out the top of the shoulders.
Step 69:
Select the edges across the back and extrude down to the
bottom of the shoulder blade. Remember to be constantly looking at all
the views to make sure that the new geometry being created makes sense
in every view (
Figure 8.49
).
Step 70:
Repeat the process of extruding a row of edges down the front of
the chest (
Figure 8.50
).
Why?
The idea here is to create a ring of polygons that the arm will be extruded
from. By coming down the back and then down the front we can create
the chest and back as we go. The ultimate goal here is to make sure there
are 10 edges around what will become the arm.