Game Development Reference
In-Depth Information
Why?
Creating the eyeball first provides an important starting point. With an
appropriately placed eyeball, the polygons that will become the eyelid
can quickly and easily be organized to have the appropriate shape.
Step 13:
Duplicate the eyeball. Ctrl-D (Cmd-D on Mac) will duplicate the
eyeball. In the Channels Editor, change the Translate X value to a negative
value (mine went from 3.022 to -
3.022
).
Step 14:
Take time to name the spheres
Left_Eye
and
Right_Eye
in the
Outliner. Remember to label these relevant to the character (the character's
left and right).
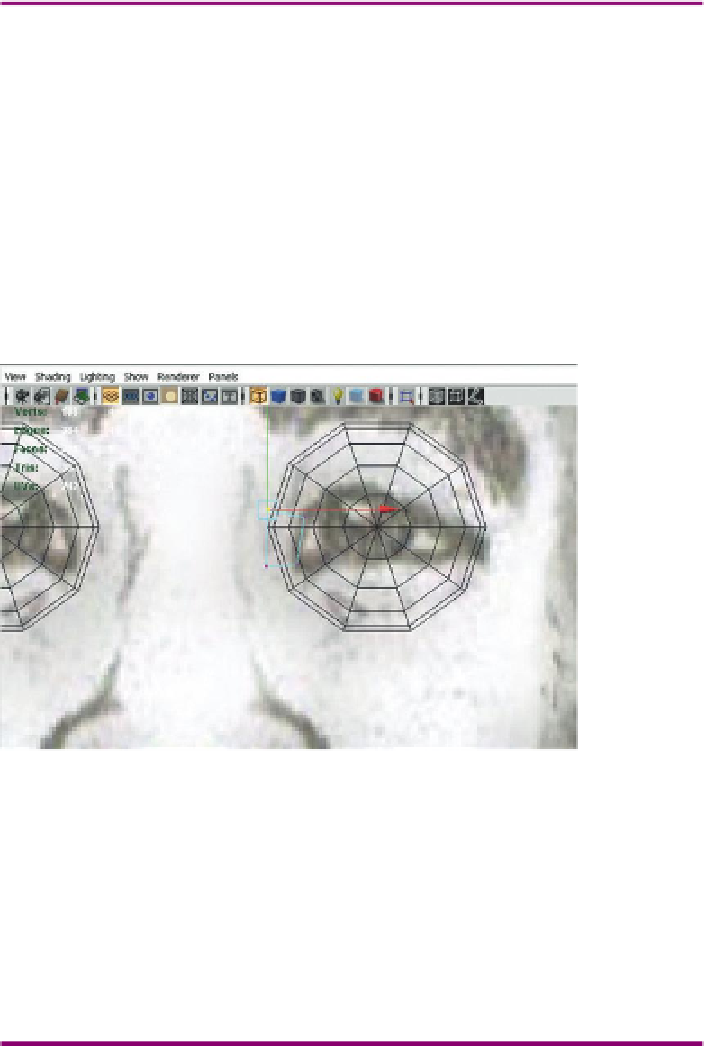
Creating Polygon Rings
Step 15:
Create the first polygon. Choose Polygons>Mesh>Create
Polygon tool. In the Front view, create a four-sided polygon that
approximates the shape of the start of the eyelid (
Figure 8.5
).
Figure 8.5
Starting out with the
first polygon.
Tips and Tricks
The Create Polygon tool will allow for the creation of those dastardly
n-sided polygons. When using this tool, be sure that after creating the
fourth side, to press the Enter button to exit the tool.
Step 16:
Adjust in 3D (via the side- and persp-view panels) to get the
shape of this polygon correct in relationship to the eyeball.
Why?
This is essentially the core process: create new polygons in one view
(in this case the front view panel) and then tweak in the other views to
ensure this newly created polygon is the right shape in space.