Game Development Reference
In-Depth Information
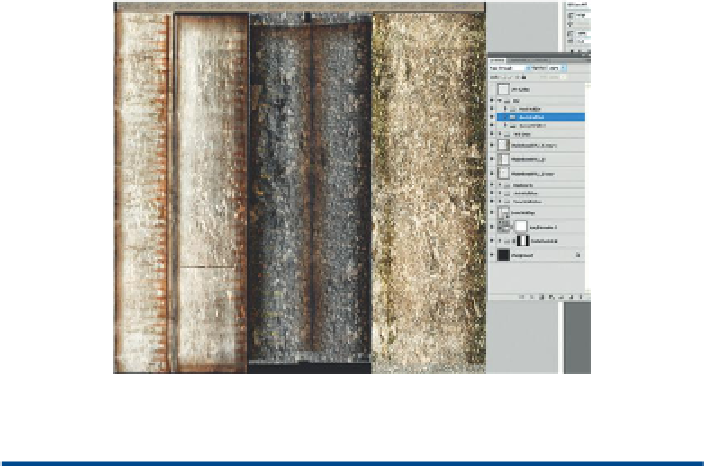
Figure 7.2
Raw version of the inner walls texture. Notice the complex collection of layers that will pay off here.
Tips and Tricks
Remember that in the texture creation chapter (Chapter 4), whenever we
built a texture we kept a copy of the construction texture in the images
folder and a flattened version in the sourceimages folder (both within
the Maya project folder). Keeping that raw version pays dividends in
situations like this. Because all the dirt and drips are on separate layers,
those can just be hidden to reveal the base texture beneath.
If you are following exactly along with the tutorial and using the assets I
use as provided on the web site (
http://www.Creating3dGames.com
), the
file we are after, EntryWayWallsInnerUV, is in the images folder.
Cleaning up the Raw Texture
Step 3:
Hide all the grime, dirt, and drips layers. Do this in the Layers palette
by just turning off the eye icon on the layers that are not wanted (
Figure 7.3
).
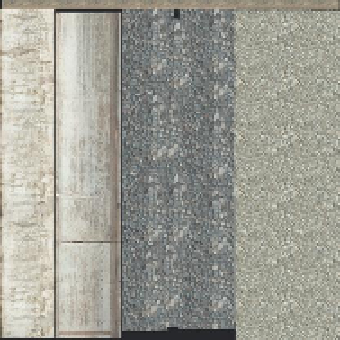
Figure 7.3
Base texture without added dirt and grime.