Game Development Reference
In-Depth Information
Why?
Although terrains can be painted by raising parts up or pushing them
down, I find it easiest to simply pull stuff up for the rough cut. And since
the player should look down and see the water and not the mountain,
sticking it below the water to begin with makes for a quick solution.
Tips and Tricks
Remember the keyboard shortcuts for Move, Rotate, and Scale are
the same in Unity as they are in Maya (W-Move, E-Rotate, R-Scale).
Additionally, remember that the movement can be constrained with the
cone handles on the manipulator once the Move tool is active.
Step 5:
Examine the Inspector for the terrain:
Terrain Editing Tools
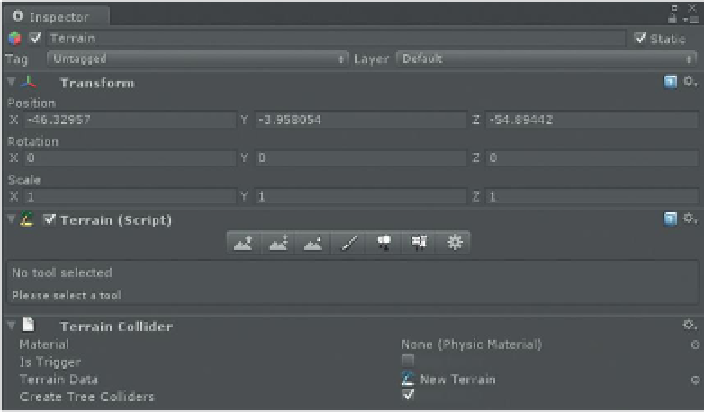
Figure 6.12
shows the Inspector when the terrain is selected. At the top,
there is the usual Transform component (although the Rotation and
Scale settings here have no effect). On the bottom is the Terrain Collider
component that allows the player to walk across the terrain. Right in the
middle under the Terrain (Script) section are the tools that allow for the
manipulation of the actual terrain.
These tools (Raise/ Lower Terrain, Paint Height, Smooth Height, Paint Texture,
Place Trees, Paint Details, Terrain Settings) allow for various modification of the
terrain. If the mouse hovers over any of the tool buttons a screen hint will pop
up to indicate what the tool does. If a tool is selected, the options beneath
it will change to allow for the specifics of how the tool works to be tweaked.
Following is a brief description of what these tools do.
Figure 6.12
The Inspector for a
terrain instance.