Game Development Reference
In-Depth Information
in Tutorial 4.2. If working with a very large space (like the dock) where
the situation calls for a smaller texture tiled, then the first tutorial is the
process to use.
The “Homework and Challenges” section includes renders of other assets
in our game. Look at how these different shapes might call for different
methods. My choices can be found on the accompanying web site
(
http://www.Creating3dGames.com
). Pick them apart and see if our choices
matched.
Additionally, if you've got the idea of texturing and don't want to spend time
reworking, just download my version to continue on to the next chapter,
where we get to start taking the hard work we've done in Maya and place it
within Unity, where the fun really begins.
Tips and Tricks
One of the myths that tutorials sometimes propagate is the one that
creation is a linear process. In the tutorial, the author creates something,
then creates the next object, textures it, and never goes back. The
reality (at least for me) is that the creation process is full of “oops” and
“shoot, didn't notice that, I need to fix it.” As you work, be on the lookout
for mistakes that you've made in the past—a stray poly here or there,
UV layouts that just aren't as efficient as you'd like them to be, and so
on. As you look through the example files from these tutorials you'll find
loads of these sorts of tweaks and adjustments. They're part of the fun
of creating.
Homework and Challenges
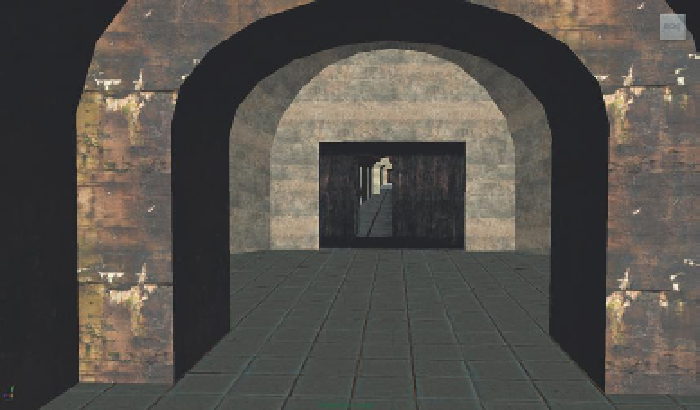
Challenge 1:
Texture the hallway (
Figures 4.23-4.27
).
Figure 4.23
Textured entrance to
hallway.