Database Reference
In-Depth Information
In Figure 3-11, notice how calculated columns are slightly darker than the standard imported col-
umns. This allows you to easily see the calculated columns.
You can rename any column in the Power Pivot window by double-clicking the column
name and entering a new name. Alternatively, you can right-click any column and select
Rename.
Note
You can build your calculated columns by clicking instead of typing. For example,
instead of manually entering
=[UnitPrice]*[Quantity]
, you can enter the equal
sign (
=
), click the UnitPrice column, enter the asterisk (
*
), and then click the Quantity
column. Note that you can also enter your own static data. For example, you can enter a
formula to calculate a 10-percent tax rate by entering
=[UnitPrice]*1.10
.
Tip
After you have your two calculated columns, go back to the PivotTable you created earlier in this
chapter (see “Creating a PivotTable from Power Pivot Data”). Take a look at the field list. If you acciden-
tally closed your field list, right-click anywhere in the PivotTable and select Show Field List.
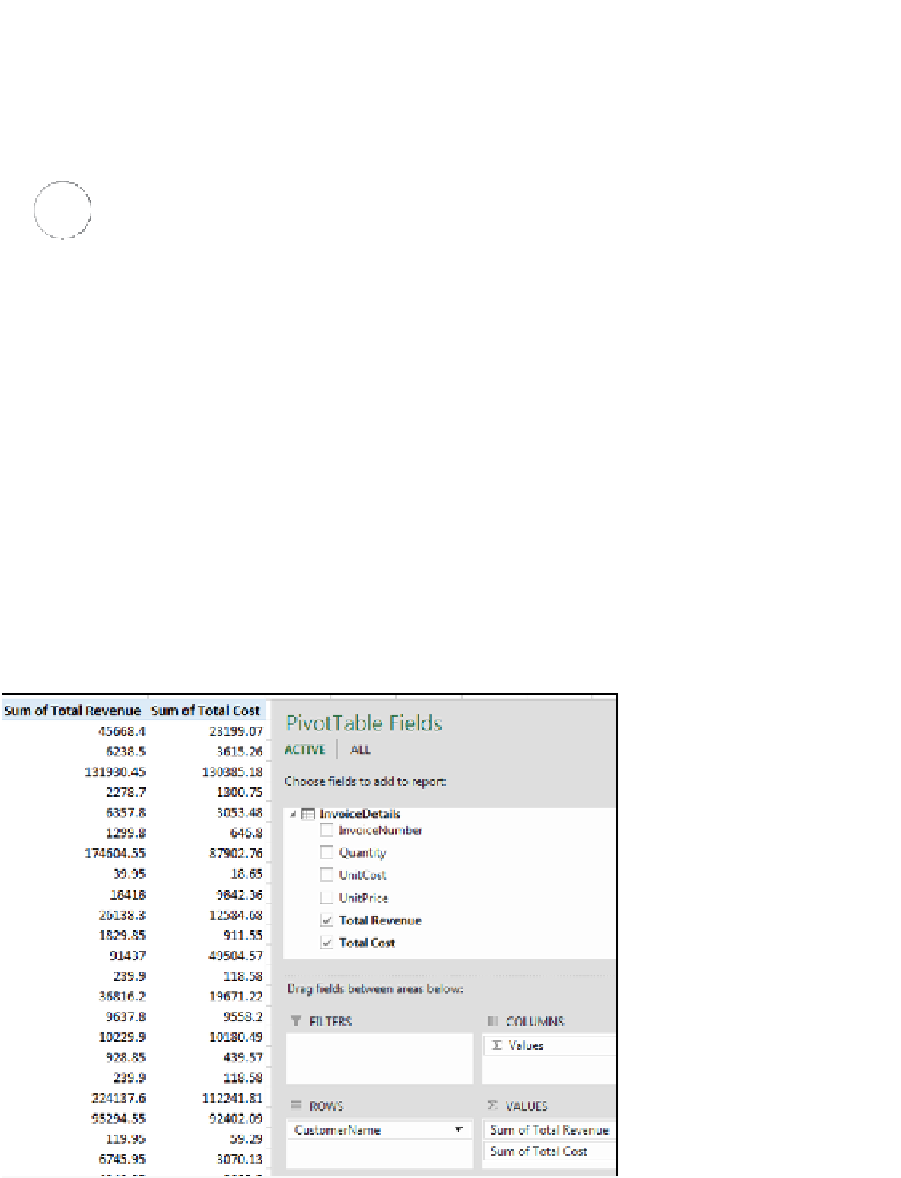
Your newly created calculated columns are now available in the field list, as shown in Figure 3-12.
Notice that you didn't have to take any action to get your calculated columns into the PivotTable.
Each calculated column you create is automatically available in any PivotTable connected to the
Power Pivot Data Model. You can use these calculated columns just as you would any other field in
your PivotTable.
Figure 3-12:
Calculated columns automatically show up in the PivotTable Field List.
If you need to edit the formula in a calculated column, find the calculated column in the
Power Pivot window, click the column, and then make your changes directly in the for-
mula bar.
Note


Search WWH ::

Custom Search