Database Reference
In-Depth Information
Installing and Activating
the Power Map Add-In
The Power Map Add-In does not come with Excel out of the box. If you find a Power Map button on
the Insert tab (see Figure 6-1), then the Power Map Add-In is already activated.
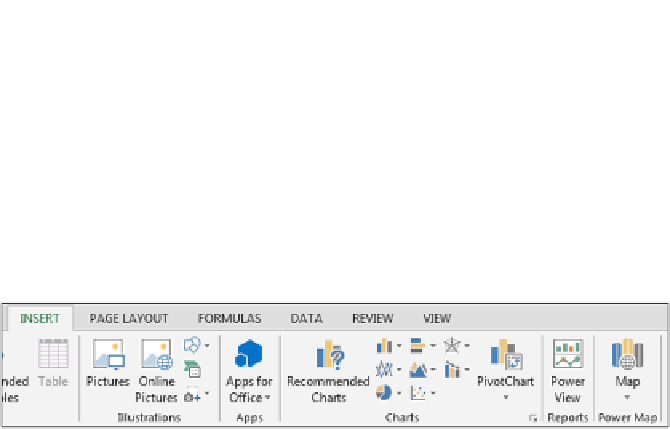
Figure 6-1:
The Power Map Add-In is on the Insert tab.
If you don't see a Power Map button, then you have to download and install it.
As of this writing, the Power Map Add-In is only available if you have one of the following editions of
Office or Excel:
➤
Office 2013 Professional Plus:
Available through volume licensing only
➤
Office 365 Pro Plus:
Available with an ongoing subscription to Office365.com
➤
Excel 2013 Stand-alone Edition:
Available for purchase through any retailer
If you have any of these editions, you can install and activate the Power Map Add-In. Type the term
“Excel Power Map Add-In” into your favorite search engine to find the free installation package.
After it is installed, activate the Add-In by following these steps:
1.
Choose File ➜ Options.
2.
Select the Add-Ins option on the left, select COM Add-Ins from the Manage drop-down
menu, and click Go.
3.
Look for Power Map for Excel in the list of available COM Add-Ins. Select the box next to each
one of these options and then click OK.
4.
Close and restart Excel 2013.
You now find the Power Map button on the Insert tab.
Loading Data into Power Map
To start loading data into Power Map, all you need is a named Excel table that contains geographical
data. Note that when you load a table into Power Map, it automatically gets added to the Excel's
internal Data Model.


Search WWH ::

Custom Search