Graphics Programs Reference
In-Depth Information
4.
Toggle soft proofing temporarily off by choosing View
Onscreen Proofing.
Pay
close attention to how the image changes from the original as you turn soft proofing
back on by again choosing View
➪
➪
Onscreen Proofing.
5.
Select the original version so that both versions are displayed, but change the pri-
mary selection back to the new version.
6.
Open the Adjustments Inspector and adjust this new version so that it looks the
same with soft proofing on as the original does with soft proofing off.
Unfortunately, when soft proofing is on, Aperture turns soft proofing on for every image
in Viewer — you can't select both the original image and this new version and have
Aperture only show a soft proof for this new version. Instead, you need to keep toggling
Onscreen Proofing on and off as you adjust this new version. Your setup will look similar
to Figure 7.4.
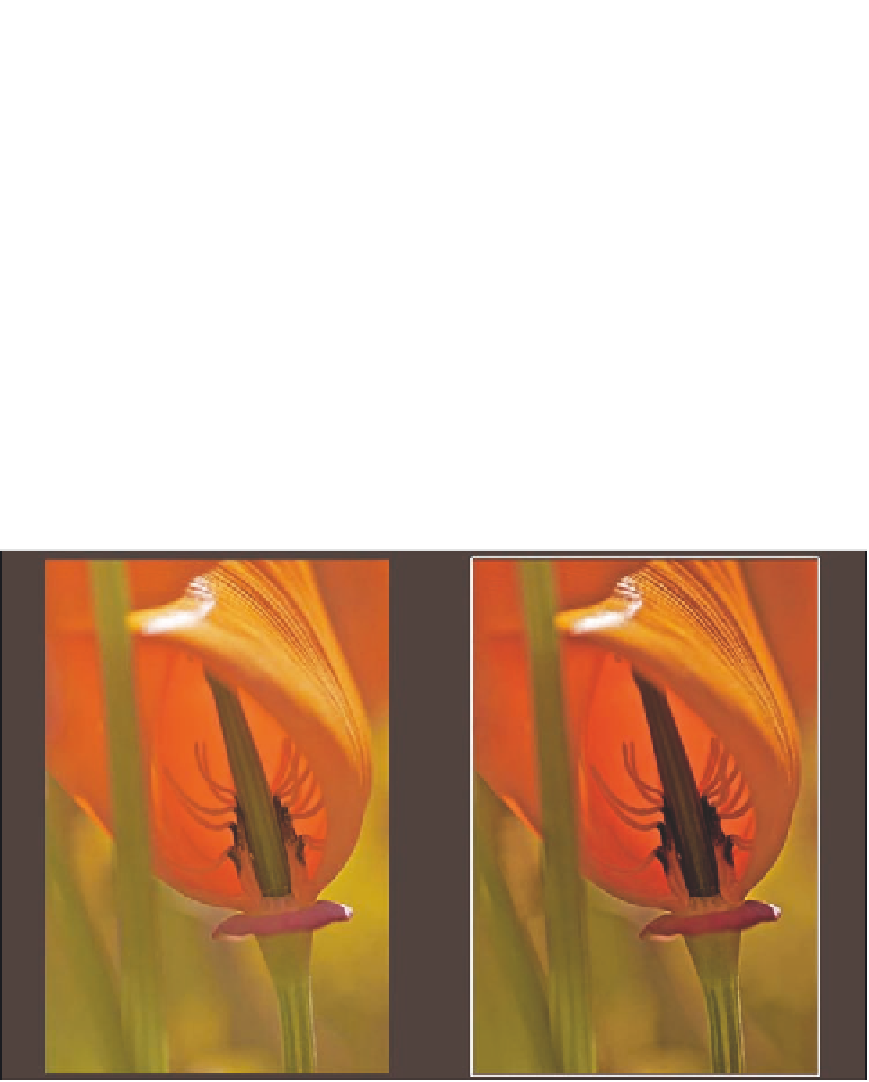
7.4
A soft proofing setup with the original image on the left and the soft-proof version you're adjusting
on the right.
7.
Use this new version to print from rather than the original version as you follow
the rest of the printing instructions in this chapter.