Game Development Reference
In-Depth Information
in
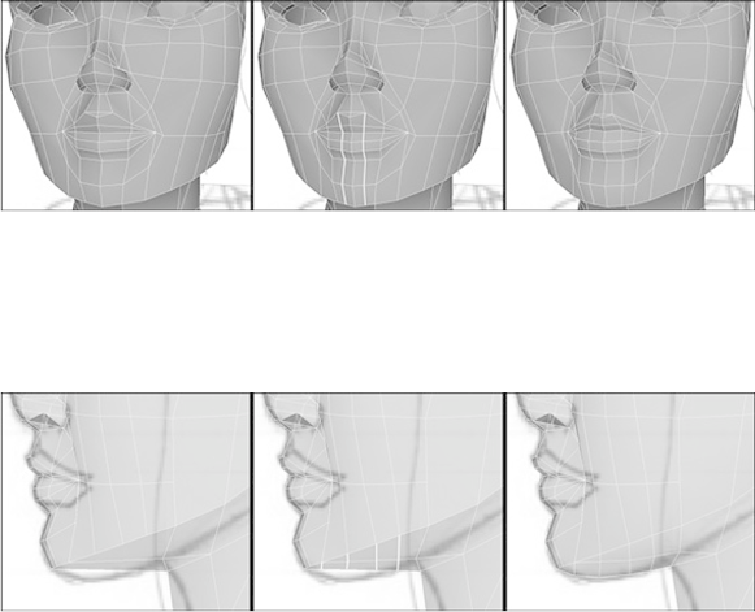
Figure 3.50
(middle). Next, it is merely a case of sculpting the area until the lips better
fit your reference imagery (
Figure 3.50
, right).
FIGURE 3.50
Refine the lips.
Before we can leave the head and move on, we must fill out the chin. In
Figure 3.51
(left),
the area under the chin is very flat and the chin itself is quite angular. To rectify this, start
by splitting more polygons, following the ones on the side of the head down to the bottom
(
Figure 3.51
,
middle).Thenadjustthevertices tofittheoutlineintheimageplane(
Figure
FIGURE 3.51
Fill out the chin.
The final stage for the head is to spend time making sure the shape is perfect. We have all
the features in, and now we must make sure they resemble the character we are building.
Getting the face right is crucial, so load in the original color image that was created in
Chapter 1
(
Figure 3.52
). This is how the character should look and will be our reference
for this part of the model.