Game Development Reference
In-Depth Information
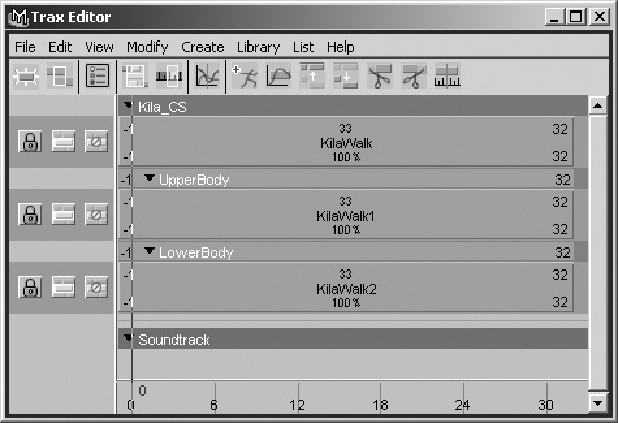
FIGURE 16.41
Three clips are created, one for each character set.
6.
It's a good idea to rename each of these clips to match the animation it
stores—simply double-click the clip's name in the Trax Editor. For example, re-
name KilaWalk1 to KilaWalk_LB for the lower body animation. If this clip is ex-
ported later, people will be able to tell what it is.
7.
To now export all the clips together, select the main KilaWalk clip by clicking dir-
ectly on it in the Trax Editor; then select File > Export Clip in the Trax Editor. Be-
cause you selected the main character set to export from, all three clips will be ex-
ported and stored.
With the animation safely stored, you can now import it back onto your character. To do
this, simply select the character onto which you want to import the clips, and go to File >
Import Clip to Characters.
We have barely scratched the surface of what is a very powerful tool in Maya, but by
delving deeper into the Trax Editor we might find ourselves in a whole different topic. If
you intend to do a lot of animation work, I recommend you spend some time with the Trax
Editor to see what it has to offer.