Agriculture Reference
In-Depth Information
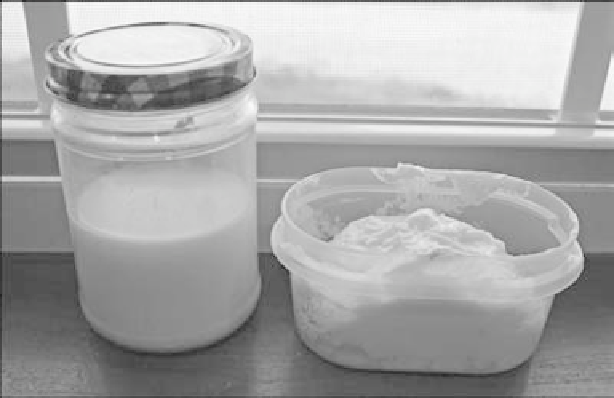
Cream itself is useful, but separated into butter and buttermilk, it will stretch much further.
(Photo courtesy of Brannan Sirratt)
Over the Garden Fence
You may be able to buy a share of a milk cow, or participate in the dairy Community-Sustained Agriculture
(CSA) to source your own raw milk more inexpensively than from a health-food store. If you don't have
room for your own milk cow, the next best thing to do is support a local organic farmer in their endeavors!
And chances are someone in that community will have fresh milk available for you to use in your
butter and yogurt making. After the cream rises to the top of your chilled milk, “skim” it off with
a spoon. Do this carefully until you start to see a bit of milk in it as well. Culturing this cream—
leaving it covered and on the counter for a few hours—will increase the health benefits as well as
the flavor of your butter.
It will take about 12 hours for your cream to be ready. It should smell just a bit sour, and be
roughly 75°F, or room temperature. How do you know if it's sour enough but not too much? The
nose knows. In all seriousness, it is something you will develop a knack for over time. Fermentation
manifests itself in a sour taste and smell, so there will be a bit of a tang to it. Trust your instinct to
know if it smells bad and overdone.
Now, your cultured cream is ready to be whipped into shape. Put it into a jar or churner, but make
sure it doesn't take up too much room or it will not agitate properly. Leave the majority of the
container empty. And shake.
When the contents feel heavy and the churning feels different—you still aren't done. But close! The
butter will turn yellow and granulated when it's ready. If you shake or churn much after that, it
will wind up very hard in the end.