Graphics Programs Reference
In-Depth Information
Figure 1.81
A brush in the Overlay blend mode removed the gray and enhanced the
selection.
Note
Painting with a brush in the Overlay blend mode means that it affects only the
gray areas. This allows us to paint in white and get close to the black areas
without affecting them, but I find I have more control when I use an opacity lower
than 100%.
6.
Go to Image > Adjustments > Invert.
Now we'll combine the body, mane, and tail selections into one complete selection
that we can use to cut the giraffe from its original background.
7.
Drag the Body channel onto the New Channel icon at the bottom of the Channels
panel to create a duplicate; rename it
Giraffe
.
8.
With the Giraffe channel active, Command/Ctrl-click the Mane channel thumbnail
to load it as a selection; fill it with white by going to Edit > Fill and choosing
White from the Contents menu. Command/Ctrl-click the Tail channel thumbnail to
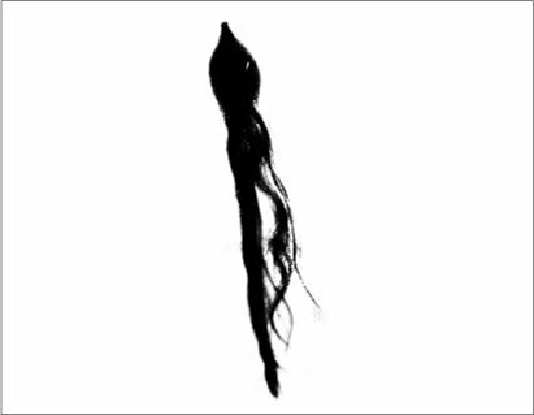
load it as a selection, and fill that with white also (
Figures 1.82
and
1.83
).


Search WWH ::

Custom Search