Graphics Programs Reference
In-Depth Information
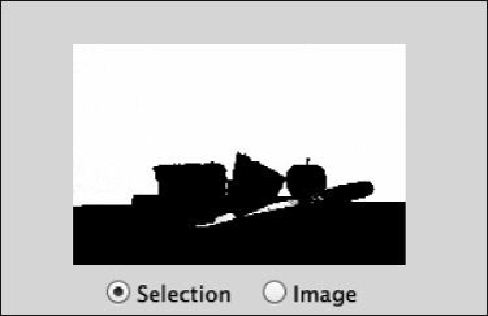
Figure 1.62
4.
Press Q to enter Quick Mask, and with a white foreground color, paint over the
knife with a normal round brush to remove the overlay.
5.
Press Q to exit Quick Mask mode. Go to Select > Save Selection, name the selec-
tion
wall
, click OK, and go to Select > Deselect.
6.
Now that there's a saved selection of the background, textures can be added very
easily using blend modes. (I'll cover this in more detail in
Chapter 2
.) Go to File >
Place Embedded (File > Place in earlier versions of Photoshop), navigate to a tex-
ture that you wish to use, and click OK. This places the texture at the top of the
layer stack. Resize the layer by dragging the transform handles, and press Return/
Enter. The layer is added as a Smart Object layer.
7.
So that the layer is only on the gray paper, go to Select > Load Selection, choose
wall
from the Channel menu, and click OK (
Figure 1.63
)
.
Search WWH ::

Custom Search