Graphics Programs Reference
In-Depth Information
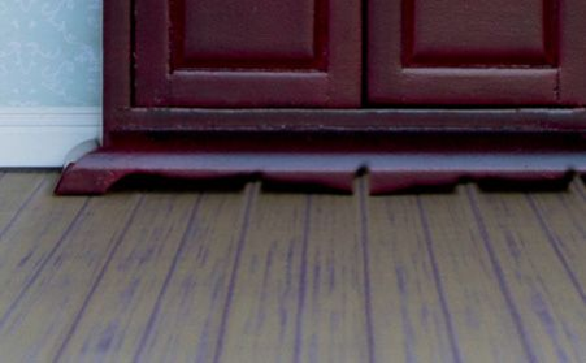
This cloning process needs to be repeated across the whole of the floor, making
sure to add a new layer for each joint line created. You may also find that you need
to sample other joins as you move across the floor because of how the lighting
changes. Don't worry about the ends of the joins (
Figure 9.20
)
, because we'll be
cleaning those up in the next step.
Figure 9.20
15.
Click the cloned floor-boards layer, Shift-click the first layer that we named floor-
boards, and go to Layer > New > Group from Layers. Name the group
floor-
boards
and click OK.
NOte
I also added a blank layer, named it “floor board gap-right,” and used the Clone
Stamp tool to fill in the gap along the right side of the picture where the floor and
skirting board join.
16.
Add a layer mask to the
floor-boards
group and, with a black medium soft-edged
brush, paint over the ends of the floor-board joins that need to be removed (
Figure


Search WWH ::

Custom Search