Graphics Programs Reference
In-Depth Information
Figure 7.1
Figure 7.2
3.
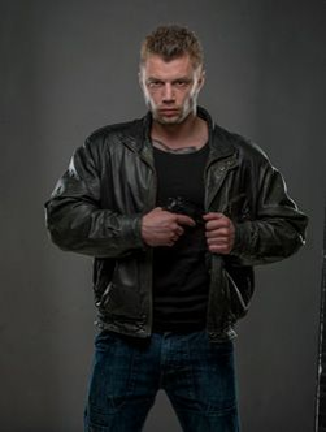
The model's hands look darker and cooler compared to the rest of his skin. To im-
prove that, grab the Adjustment Brush and, making sure that all the adjustments
are at zero, increase the Exposure to +10. Select the Auto Mask and Mask check-
boxes, and paint over the hands so that they are covered in the red overlay.
Deselect the Mask checkbox, and then increase Exposure to +0.55 and Temperat-
ure to +10.
4.
Click the Adjustment Brush icon to exit, and then zoom in to the model's eyes.
With an Adjustment Brush, select only the pupils and set the Exposure to +0.40,
Clarity to +65, Sharpness to +35, and Temperature to -6.
5.
Although we want a rugged, gritty feel, we will do a small amount of skin retouch-
ing, and Camera Raw is more than adequate for this. With the Spot Removal tool
set to Heal, work around the model's face to remove any obvious blemishes or
marks (
Figure 7.3
)
.
Search WWH ::

Custom Search