Graphics Programs Reference
In-Depth Information
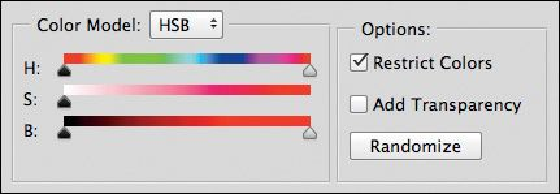
Figure 3.27
Note
If you want the light beams to stand out more, drag the Roughness slider to the
right (50% is the default setting).
6.
Once you're happy with how the light beam pattern looks, click OK to close the
Gradient Editor, then click OK again to close the Gradient Fill dialog. In the Lay-
ers panel, change the blend mode to Soft Light.
At this stage the light beams are in the center of the picture (
Figure 3.28
)
. We want
them to come from the bright area in the clouds.
Figure 3.28
7.
To reposition the light beams, double-click the thumbnail of the gradient in the
Layers panel to re-open the Gradient Fill dialog. Put your cursor directly on the
photo and drag the light beams over the bright area in the clouds. Click OK to
close the Gradient Editor.


Search WWH ::

Custom Search