Graphics Reference
In-Depth Information
Louver
NX provides you with the
Louver
command, which makes it easy to create louvers. Activate
this command (click
Home > Punch > Louver
on the ribbon) and click on a face. Draw
a line on the selected face and click
Finish
on the ribbon. On the
Louver
dialog, type-in
a value in the
Depth
box. Click
Reverse Direction
below the
Depth
box to reverse the
depth direction. Type-in a value in the
Width
box to define the width of the louver. Click
Reverse Direction
below the
Width
box to reverse the width. You should ensure that the
louver depth should be less than or equal to width minus the material thickness.
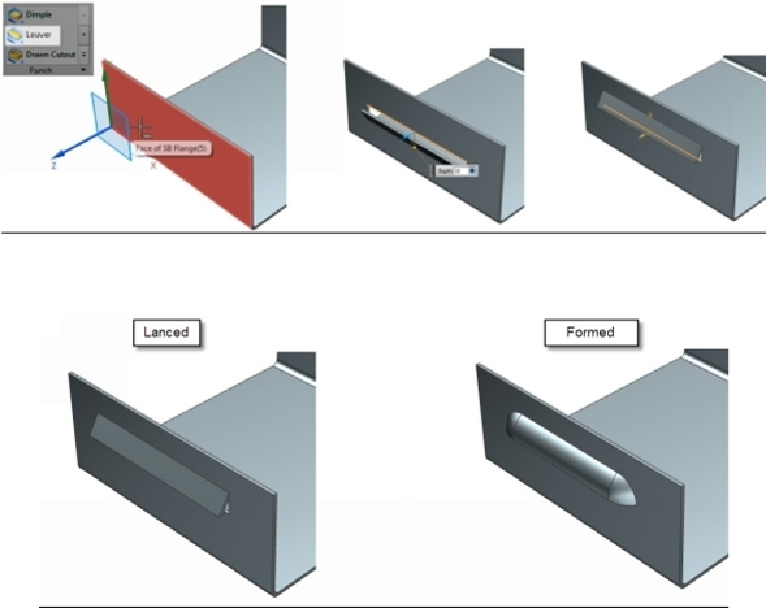
On the
Louver
dialog, define the end condition of the louver from the
Louver Shape
drop-
down menu. The following figure shows the two end conditions.
Under the
Rounding
section, check the
Round Louver Edges
option and type-in a value
in the
Die Radius
box to round the edges of the louver. Click
OK
to complete the louver
feature.