Graphics Programs Reference
In-Depth Information
Step Three:
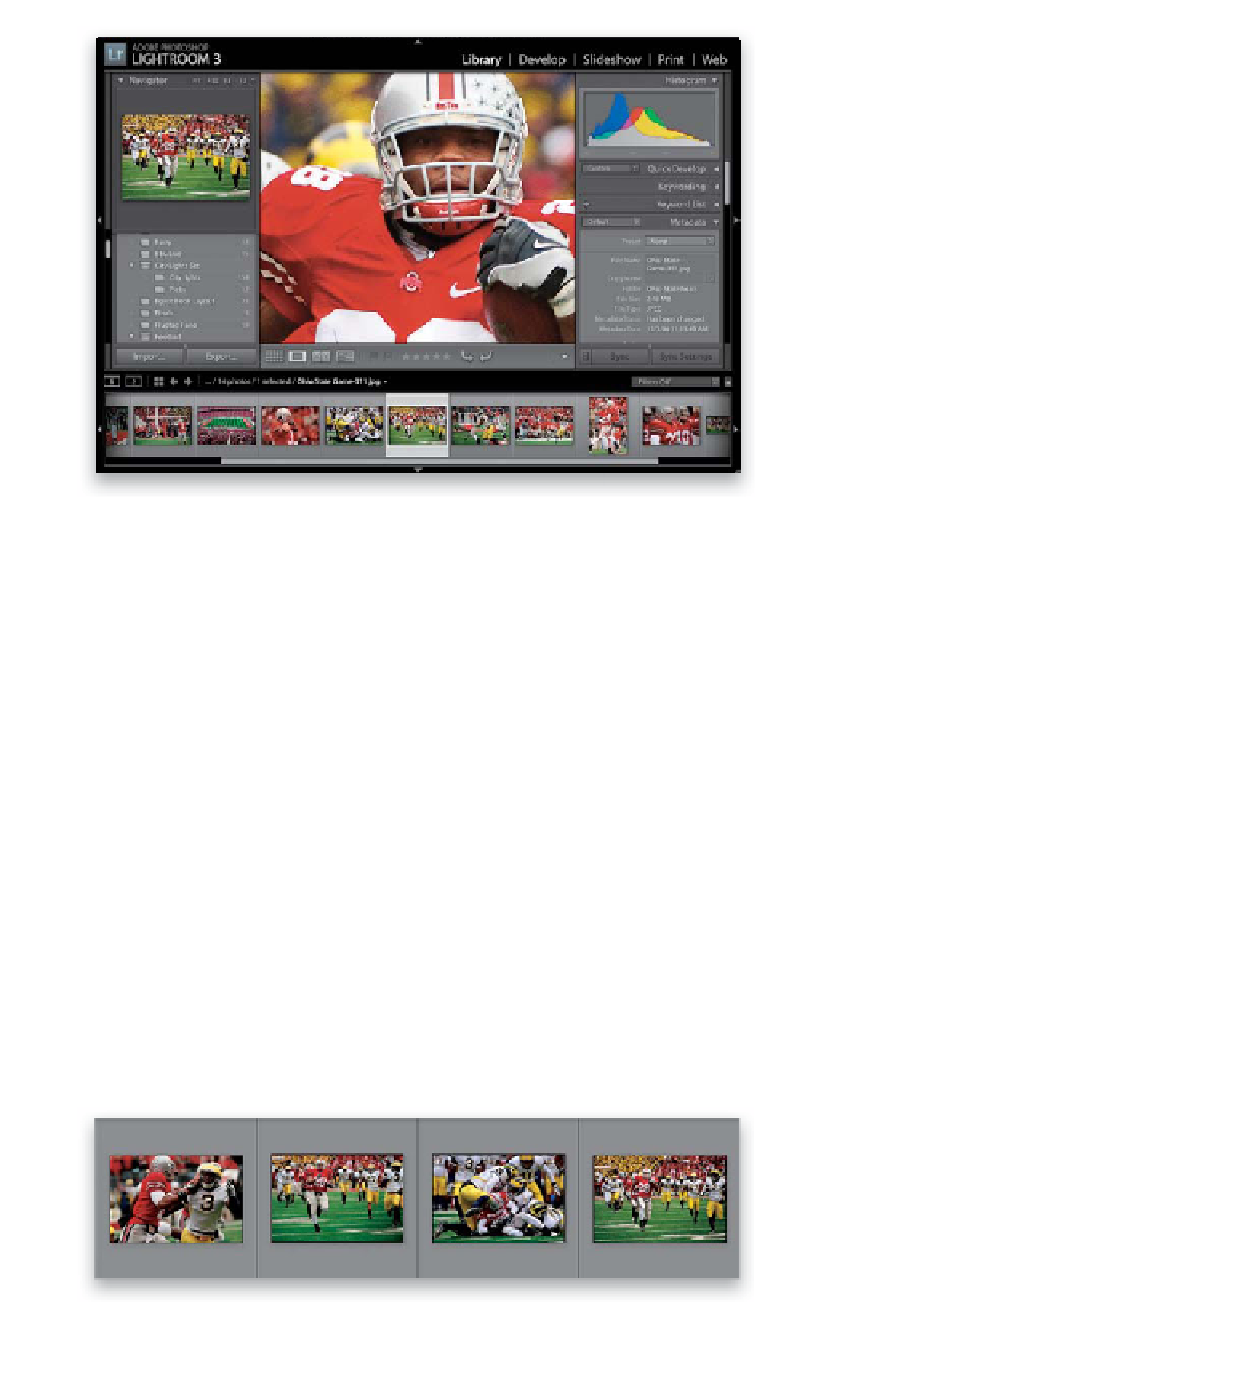
I leave my Navigator panel setting at Fit,
so when I double-click I can see the entire
photo fitting in the center Preview area,
but if you want to get in closer to check
sharpness, you'll notice that when you're in
Loupe view, your cursor has changed into a
magnifying glass. If you click it once on your
photo, it jumps to a 1:1 view of the area
where you clicked. To zoom back out, just
click it again. To return to the thumbnail
view (called Grid view), just press the letter
G
on your keyboard. This is one of the most
important keyboard shortcuts to memorize
(so far, the ones you really need to know
are:
Shift-Tab
to hide all the panels, and
now G to return to Grid view). This is a
particularly handy shortcut, because when
you're in any other module, pressing G
brings you right back here to the Library
module and your thumbnail grid.
Step Four:
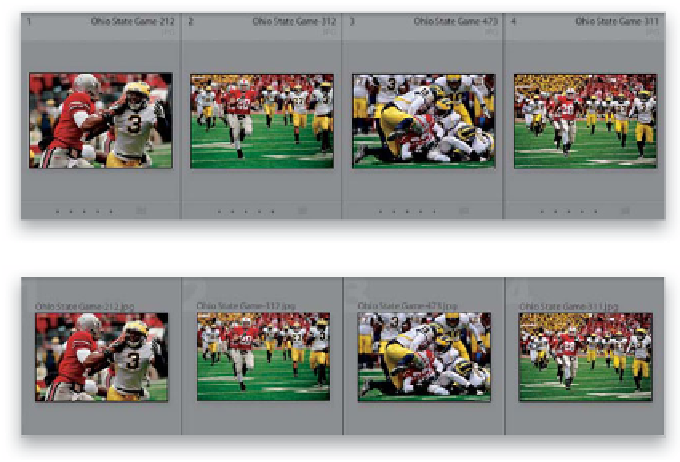
The area that surrounds your thumbnail
is called a cell, and each cell displays infor-
mation about the photo from the filename,
to the file format, dimensions, etc.—you
get to customize how much or how little
it displays, as you'll see in Chapter 3. But
in the meantime, here's another keyboard
shortcut you'll want to know about: press
the letter
J
. Each time you press it, it toggles
you through the three different cell views,
each of which displays different groups of
info—an expanded cell with lots of info,
a compact cell with just a little info, and
the last one hides all that distracting stuff
altogether (great for when you're showing
thumbnails to clients). Also, you can hide
(or show) the dark gray toolbar below the
center Preview area by pressing
T
. If you
press-and-hold T, it only hides it for as long
as you have the T key held down.
The default cell view is called Expanded and gives you the most info
The Compact view shrinks the size of the cell and amount of info, but numbers each cell
If you press J again, it hides all the info and just shows the photos