Graphics Programs Reference
In-Depth Information
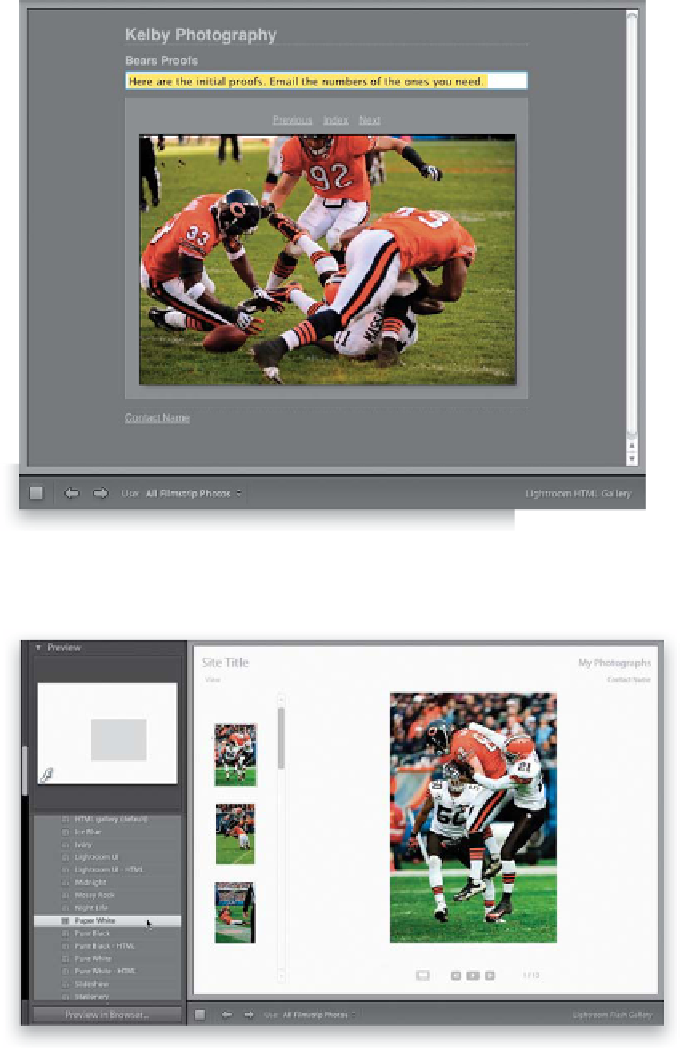
Step Five:
Basically, that's the plan—you click on
placeholder text, right there on the page
itself, and type in your own custom text.
So, go ahead and enter the information
you want on your webpage by clicking
on the placeholder text, typing in your
new text, and then hitting the Return
(PC: Enter) key on your keyboard to lock
in your changes. Here, I've updated my
page with the information I might put
on a typical online proofing page for a
client. So now you've got your own text
in place, you've chosen how many rows
and columns you want for your thumb-
nails, and how large your larger images
will appear on the page. You can go with
this default HTML page, but Lightroom
comes with some pretty decent built-in
templates—and not just in HTML format,
there are a number of Flash-based tem-
plates, as well.
Step Six:
To get a preview of these built-in templates ,
go to the Template Browser (in the left side
Panels area) and just hover your cursor
over a template, and a preview of that
template will appear in the Preview panel
at the top (as seen here). If the template is
Flash-based, you'll see the a little “ƒ” appear
in the bottom-left corner of the preview;
otherwise you'll see “HTML” there instead.
To apply one of these templates , just click
on it (here, I've clicked on the Paper White
template, which has a white background,
your thumbnails appear on the left in a
scrolling list, and you have slide show con-
trols below the larger image in the center).
Note:
One advantage of these Flash-based
templates is that they have built-in slide
show capabilities, with smooth transitions
between each image. Also, people viewing
your page can't just click-and-drag your
photo onto their computer, like they can
with HTML-based pages.