Graphics Programs Reference
In-Depth Information
Step Three:
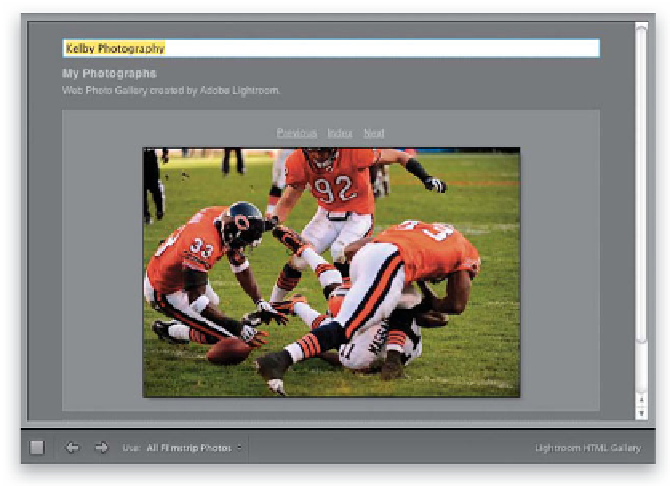
At this point, we've just been working with
thumbnails, but when you (or your client)
click on a thumbnail, it will be displayed at
a larger size (as seen here). How large will
it appear? That's up to you. By default, it
appears at 450 pixels wide, but you can
choose the size you'd like in the Appearance
panel, in the Image Pages section, using the
Size slider. (
Note:
There is no option for
changing the size of the thumbnails with
HTML templates. Just thought I'd keep you
from pulling your hair out looking.) Right
below that is a checkbox for toggling on/off
a stroke border around this larger image,
and you get to choose the width and
color of the stroke border there, as well.
At the top of this panel is a checkbox for
turning on/off the drop shadow behind
your photo. The Section Borders checkbox
turns on/off the little lines that appear be-
tween your site title and the text below it
at the top of the page, and the line between
your photo and your contact info at the
bottom of the page (you can choose the
color of those section border lines, as well).
There's one more section in this panel
(Grid Pages), but it's for the thumbnails, not
the larger-size previews.
Step Four:
You edit the text on your webpage right on
the page itself, which makes this process fast
and easy. You just click on the placeholder
text that's there, it highlights, and you type
in your new text, then press the Return
(PC: Enter) key to lock in your changes.
Here, I've changed the site title.
Continued