Graphics Programs Reference
In-Depth Information
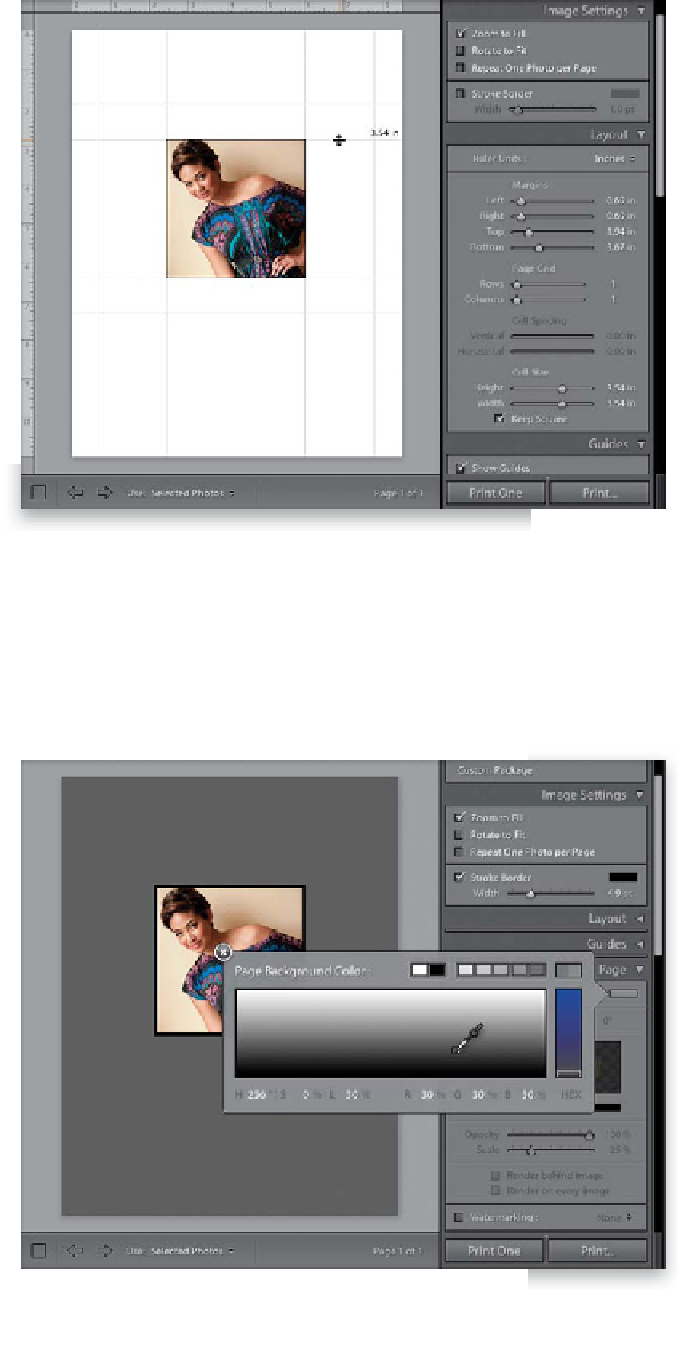
Step Seven:
At the bottom of the Cell Size section is a
checkbox called “Keep Square.” Go ahead
and turn on this checkbox, which sets
your Height and Width to the exact same
size, and now they move together as one
unit (since it's perfectly square). Let's try
a different way of resizing the cell: click-
and-drag the cell borders themselves, right
on the layout in the Preview area. You see
those vertical and horizontal lines extend-
ing across and up/down the page showing
the boundaries of your cell? You can click-
and-drag directly on them, so go ahead
and give it a try. Here, I'm clicking on the
top horizontal guide (shown circled here
in red), and dragging downward to shrink
my square cell (and the photo inside it).
So, by now you've probably realized that
the cell is like a window into your photo.
TIP: Rotating Images
If you have a tall photo in a wide cell
(or on a wide page), you can make your
photo fill as much of that page as possible
by going to the Image Settings panel, and
turning on the Rotate to Fit checkbox.
Step Eight:
Let's finish this one off with one of my
favorite new printing features in Light-
room 3: the ability to change the color
of your page background. To do this, just
go to the Page panel, turn on the Page
Background Color checkbox, and click the
color swatch to the right of it to bring up
the Page Background Color picker (seen
here). In this case, I'm choosing a dark
gray, but you can choose any color you'd
like (black, blue, red—you name it), then
close the color picker. Also, you can put
a stroke around your image cell by going
up to the Image Settings panel, turning
on the checkbox for Stroke Border, then
choosing a color (just click on the color
swatch), and choosing how thick you
want your stroke using the Width slider.