Graphics Programs Reference
In-Depth Information
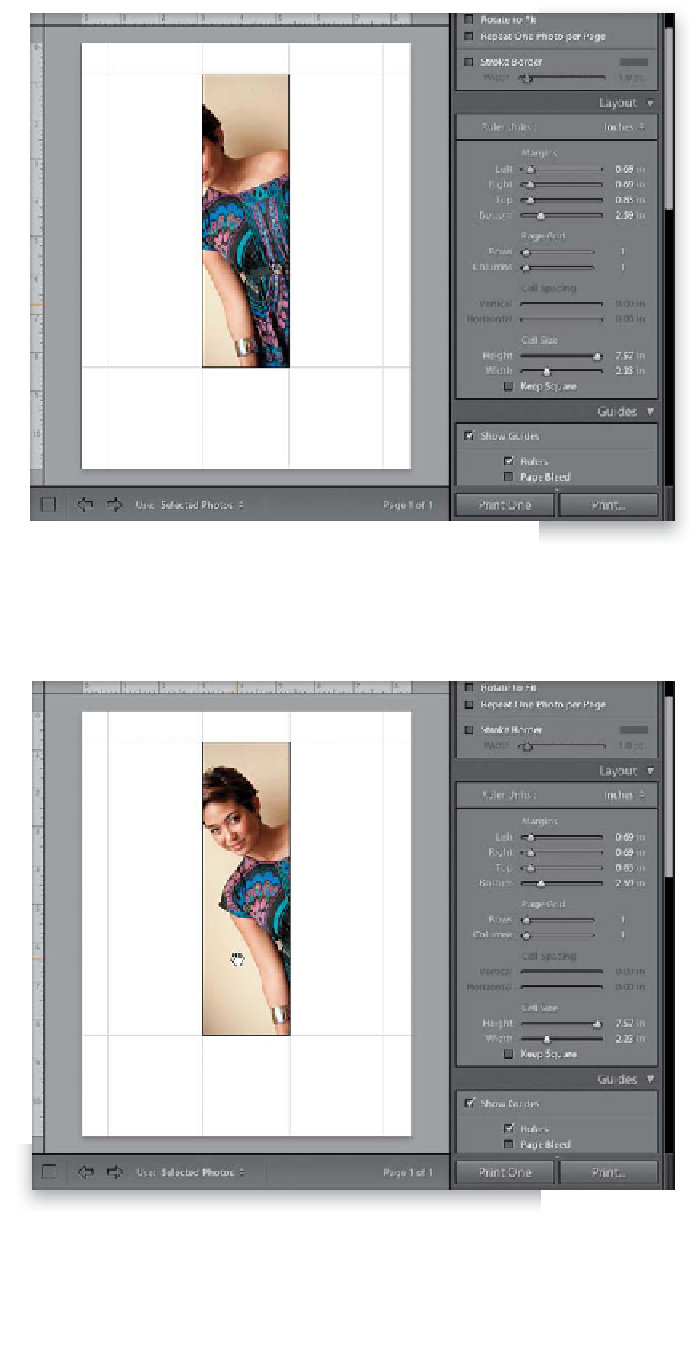
Step Five:
Now drag the Height slider back to
the right, kind of where it was before,
then drag the Width slider to the left
to shrink the width. This particular
photo is tall (in portrait orientation), so
moving the top and bottom of the cell
just crops things down, but when you
drag the Width slider like we are here,
it starts to shrink the entire image size
down right away, until it reaches its origi-
nal unzoomed width, then the sides of
the cell move inward without changing
the size further (this will all make sense
in a minute). See how the left and right
sides of your cell have moved in, creat-
ing the tall, thin cell you see here? This
tall, thin layout is actually kind of cool
on some level (well, it's one you don't
see every day, right?), but the problem is
that most of her face is off the left side
of the frame. We can fix that.
Step Six:
One of my favorite things about using
these cell layouts is that you can reposition
your image inside the cell. Just move your
cursor over the cell, and your cursor turns
into the Hand tool. Now just click-and-
drag the image inside the cell to the posi-
tion you want it. In this case, I just slid the
photo over to the right a bit until her face
was nearly in the center.