Graphics Programs Reference
In-Depth Information
If you find yourself using the same settings when importing images, you're probably
wondering, “Why do I have to enter this same info every time I import?” Luckily, you
don't. You can just enter it once, and then turn those settings into an Import preset
that remembers all that stuff. Then, you can choose the preset, add a few keywords,
maybe choose a different name for the subfolder they've being saved into, and you're
all set. In fact, once you create a few presets, you can skip the full-sized Import win-
dow altogether and save time by using a compact version instead. Here's how:
Step One:
We'll start by setting up your import set-
tings, just like always. For this example, we'll
assume you're importing images from a
memory card attached to your computer,
and you're going to copy them into a sub-
folder inside your Pictures folder, and then
have it make a backup copy of the images
to an external hard drive (a pretty common
import setup, by the way). We'll have your
copyright info added as they're imported,
and we'll choose Minimal Render Previews,
so the thumbnails show up fast. Go ahead
and set that up now (or just set it up
the way you actually would for your
own workflow).
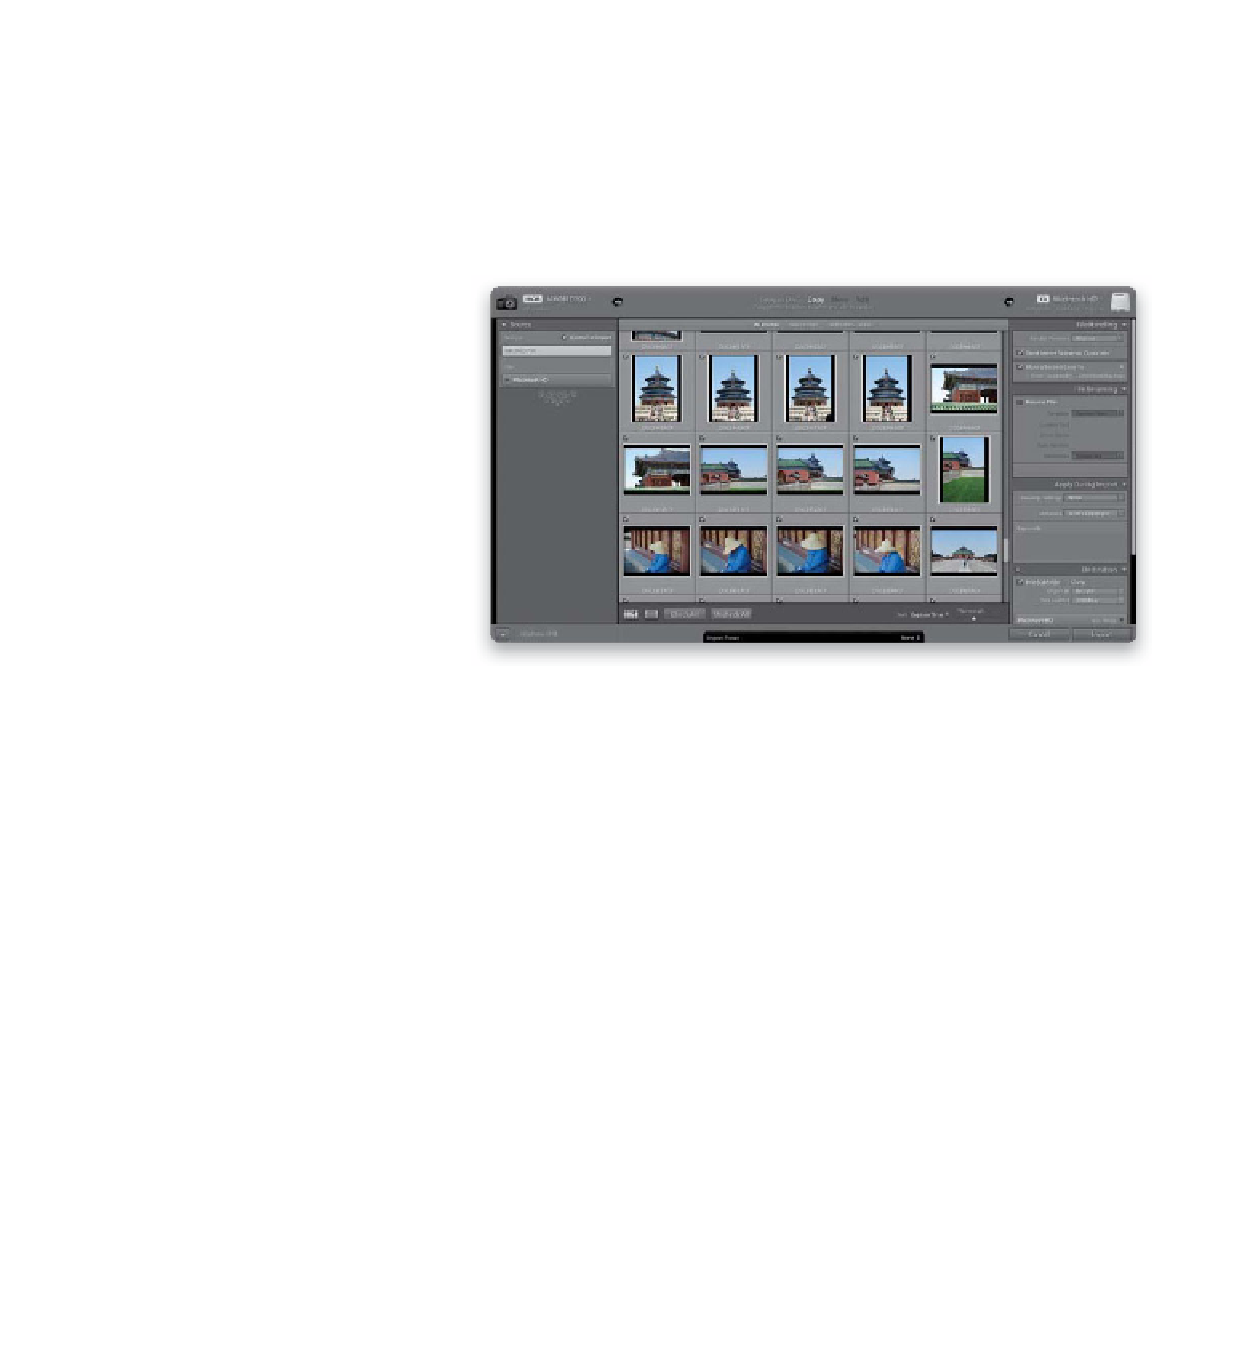
Step Two:
Now go to the bottom center of the Import
window, where you'll see a thin black bar,
and the words “Import Preset” on the far
left. On the far right, click-and-hold on None
and, from the pop-up menu that appears,
choose
Save Current Settings as New
Preset
(as shown here). You might want
to save a second preset for importing
images that are already on your hard drive,
too. Okay, that's the hard part. Now let's
put it to work.