Graphics Programs Reference
In-Depth Information
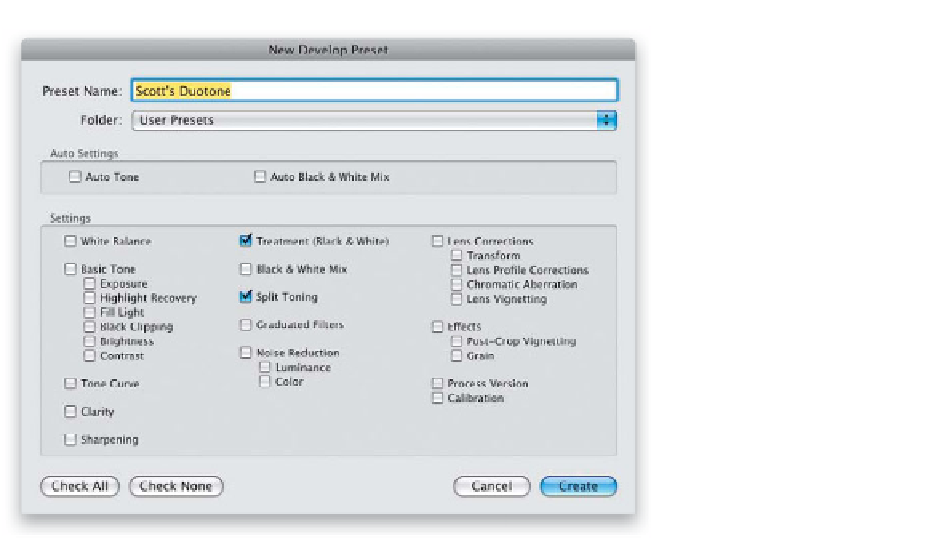
Step Five:
If you like this setting (or experiment and
find one you do like), I would go ahead
and save this as a one-click preset right
now. Just go to the Presets panel over in
the left side Panels area, and click the +
(plus sign) button to add a new preset.
When the New Develop Preset dialog
appears, you just have to do two things:
(1) click the Check None button at the
bottom, then (2) turn on the checkboxes
for Treatment (Black & White) and Split
Toning. That's it, and now a great duo-
tone is just one click away. Now that
you've learned this technique, creating
a split-tone effect is a breeze.
Step Six:
To create a split-tone effect, start with a
good-looking B&W photo (you know how
to convert from color to black and white
in the Basic panel now), then scroll down
to the Split Toning panel. You're going
to do the same thing you did to create a
duotone, but you're going to choose one
hue for the highlights and a different hue
for the shadows. That's all there is to it
(I told you this was easy). Here, I set the
Highlights Hue to 45 and the Shadows Hue
to 214. I set both Saturation sliders to 27
(a little bit higher than usual, just to add
more color).
Continued