Graphics Programs Reference
In-Depth Information
The method you just learned is how I do 95% of the color-to-black-and-white
conversions I do in Lightroom, but sometimes there's a particular area of the
photo you want to adjust during this conversion process, and that can be done
in the Develop module's HSL/Color/B&W panel. I usually still do the conversion
the way I showed you on the previous pages, but when I see an area that needs
adjusting, I head straight for the HSL/Color/B&W panel, because it's usually the
quickest and easiest way to get the job done.
Step One:
Start off in the Library module by selecting
your photo and then making a virtual copy
of it, so we can see a before/after like we
did in the last project. Rather than digging
through the menus, you can just press
Command-'
(apostrophe; PC: Ctrl-')
,
which is the shortcut for making a virtual
copy of your currently selected image.
Now, click back on the original, press
D
,
to go to the Develop module, and in the
Treatment section at the top of the Basic
panel, click on Black & White. Then press
the
Right Arrow key
on your keyboard
to switch to your virtual copy and click
the Black & White button again (as
shown here).
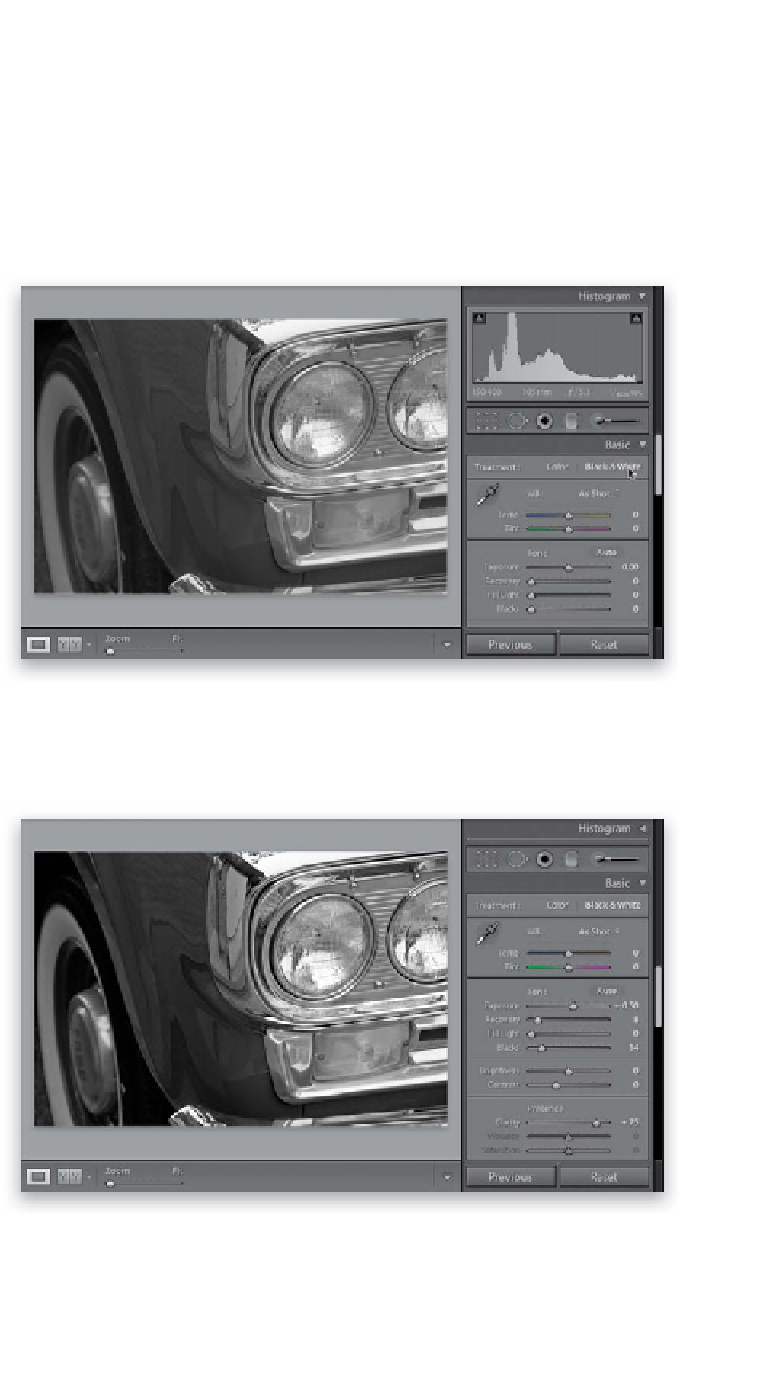
Step Two:
The photo looks flat and washed out, so
do pretty much the same steps that we
did in the previous project (Steps Three
through Five), to make this photo look
nice and rich (as shown here). Here, I
increased the Exposure amount until it
clipped the highlights, then I brought
back those highlights using the Recovery
slider, and then I increased the Blacks
amount a bit. I also increased the
Clarity amount to +75.