Graphics Programs Reference
In-Depth Information
Using Photoshop
One of my favorite features in Lightroom 3 makes it easy to use
one of my favorite features in Photoshop—the Photomerge feature,
which automatically and seamlessly stitches panoramas together.
Step One:
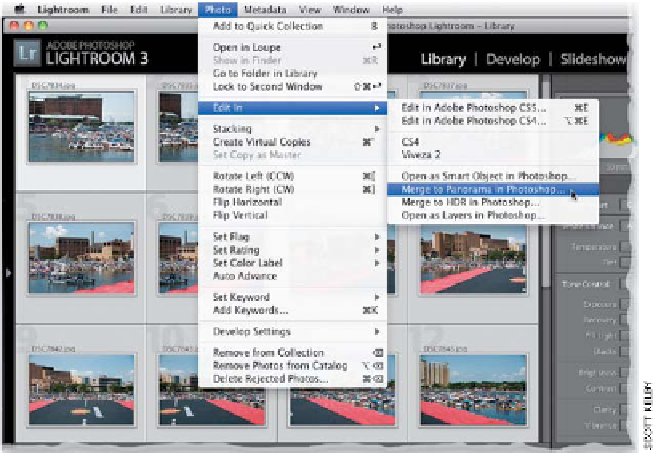
In Lightroom's Grid view, select the photos
you want to stitch together (the images
shown here are of the Red Bull Flugtag
competition in Tampa, Florida). Here I've
selected a series of 19 photos, and when
I shot these, I made sure each photo
overlapped the next one by around 20%,
because that's about how much overlap
Photoshop needs between images to
stitch these 19 photos into one single
panoramic image. Once the photos
are selected, go under the Photo menu,
under Edit In, and choose
Merge to
Panorama in Photoshop
.
Step Two:
The dialog that will appear is Photoshop's
Photomerge dialog (shown here), and
in the center of the dialog, you'll see the
names of the 19 images you selected in
Lightroom. In the Layout section on
the left side, leave it set at Auto, so Photo-
merge will automatically try to align and
blend the images together for you, then
click the OK button in the upper-right
corner of the dialog.