Graphics Programs Reference
In-Depth Information
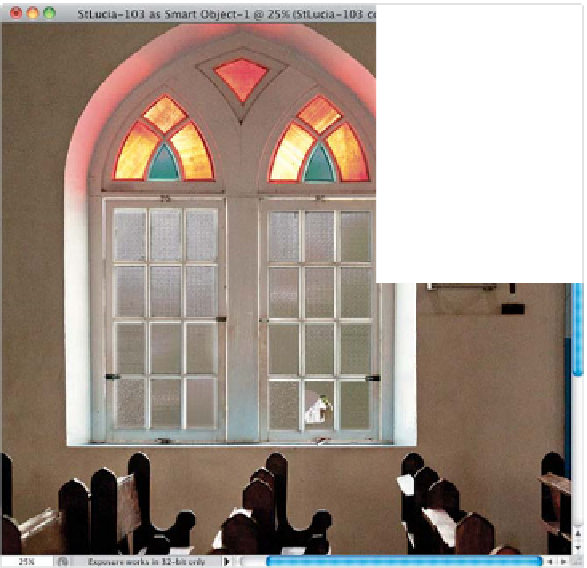
Step Nine:
A couple of other tips for masking away
the spillover: (1) Once you paint over
one of the wood separators between the
panes (pressing-and-holding the Shift key
to paint straight lines), try going back the
other way (so, paint a straight line in one
direction, and then paint right back over
it in the opposite direction). In fact, you
can probably do this back-and-forth a few
times, and each time you do, it expands
the area you're masking away a little bit at
a time. And, (2) Use a much smaller brush
tip than you think you need. As I said, it
builds up as you go back and forth over
an area, so start small and you'll get bet-
ter results. Here's what it looks like after
you've fully painted over the spillover from
both windows.
Step 10:
Now you can either save the file with its
layers intact (if you think you might want
to go back later and edit the layers individ-
ually), or if you're completely done, just go
to the Layers panel's flyout menu (near the
top-right corner of the panel), and choose
Flatten Image
to remove the layers and
flatten it down to just a single Background
layer. (
Note:
When you use this Open in
Photoshop as Smart Object feature, the
image doesn't go back to Lightroom when
you save and close it. If you want it back
in Lightroom, you'll have to re-import the
photo after you save it out of Photoshop.)
Now you can finish things off by adding an
edge vignette to darken the edges of the
photo, leaving the center nice and bright.
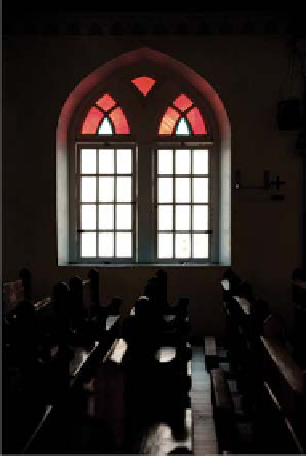
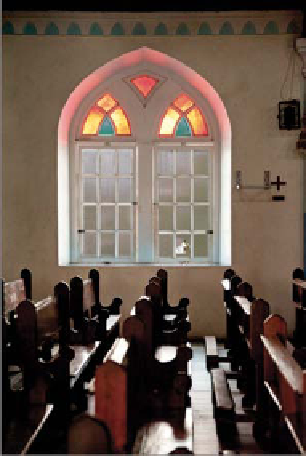
You can see the original image at left, with
the dark interior and blown-out detail-less
windows, and you can see the final double-
processed image on the right, where you
can see the interior clearly and we've
brought back the detail in the windows,
as well. So that's how you double-process
Lightroom images in Photoshop. Pretty
cool, isn't it?
Original
Double-Processed