Graphics Programs Reference
In-Depth Information
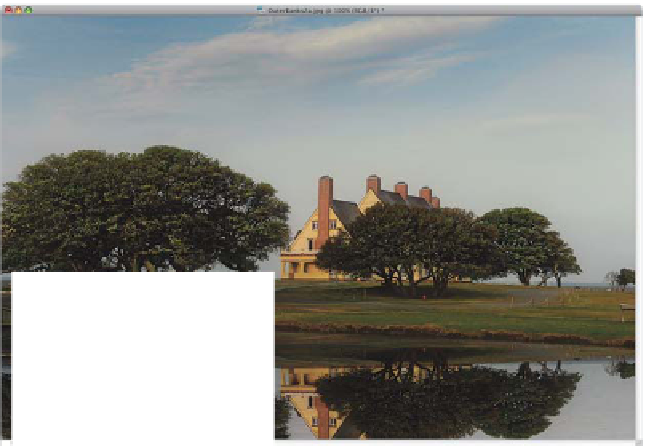
Step Five:
In the Layers panel, lower the Opacity
of this blurry layer to 20%, which gives
us our final look (as seen here). Now, go
to the Layers panel's flyout menu (near
the top-right corner of the panel) and
choose
Flatten Image
to flatten the layers
down to just the Background layer. Next,
save the file by pressing
Command-S
(PC: Ctrl-S)
and close it by pressing
Command-W (PC: Ctrl-W)
.
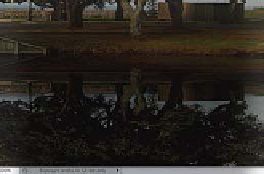
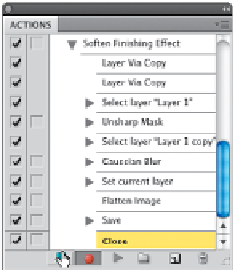
Step Six:
You may have forgotten by now, but we've
been recording this process the whole time
(remember that action we created a while
back? Well, it's been recording our steps
all along). So, go back to the Actions panel
and click the Stop icon at the bottom left
of the panel (as shown here). What you've
recorded is an action that will apply the
effect, then save the file, and then close
that file. Now, I generally like to test my
action at this point to make sure I wrote it
correctly, so open a different photo, click
on the Soften Finishing Effect action in the
Actions panel, then click the Play Selection
icon at the bottom of the panel. It should
apply the effect and close the document.
Continued