Graphics Programs Reference
In-Depth Information
Step 13:
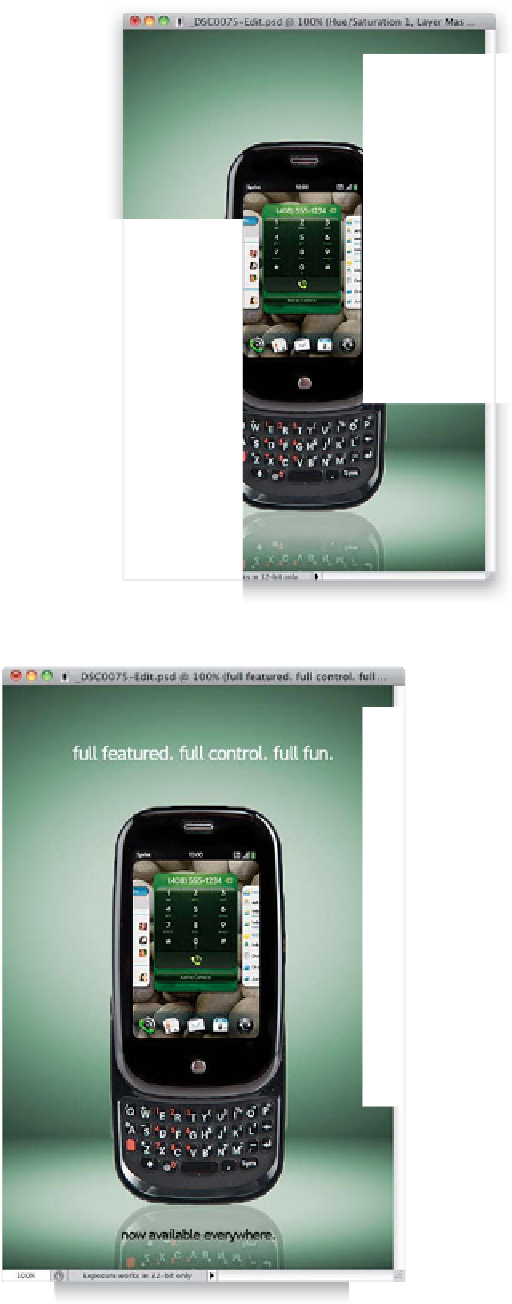
Now that our screen capture is in place, the
color we had chosen for our background
earlier doesn't work that well, but that's
what is so great about using adjustment
layers—we can easily go and change the
color. Click on the adjustment layer in the
Layers panel (shown highlighted here),
then go down to the Adjustments panel
and click-and-drag the Hue slider to the
right until the background looks green
(as seen here).
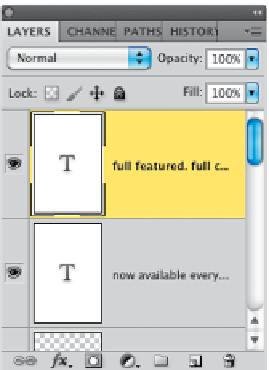
Step 14:
We're going to finish off by adding a
couple of Type layers—one at the top,
and one at the bottom—using the font
Trebuchet (but you can use any modern-
looking sans-serif font, like Myriad Pro,
which comes with Photoshop). So grab
the Horizontal Type tool
(T)
, choose your
font, font size, and text color up in the
Options Bar, and type away.
Continued