Graphics Programs Reference
In-Depth Information
Step 11:
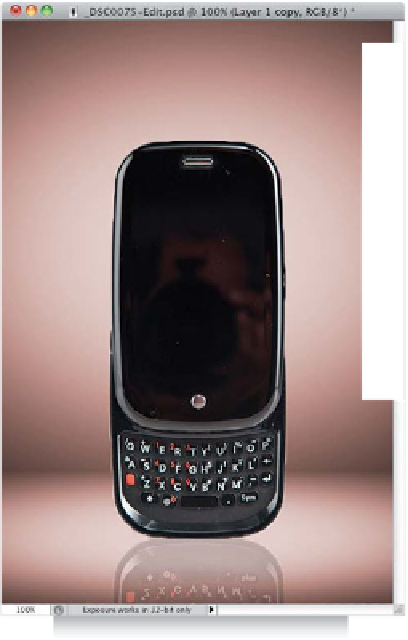
Click-and-drag this flipped layer straight
downward so the bottoms of the phones
touch (press-and-hold the Shift key while
you do this to keep the two phones lined
up as you drag). Press Return (PC: Enter) to
lock in your changes. Now to go the Layers
panel and lower the Opacity of this flipped
layer to 25% (as shown here), which cre-
ates a reflected look below the phone.
Step 12:
Now open the screen capture that you
want to appear inside the phone (it works
much better to use a screen capture, rather
than trying to photograph the phone's
actual screen). Get the Move tool
(V)
,
and click-and-drag this capture (you can
download this image from the Web
address given in the topic's introduction)
into place (as shown here). If you look
at our phone image, you'll notice that the
area surrounding the screen capture looks
a little washed out, but that's an easy fix,
since it's supposed to be solid black. Click
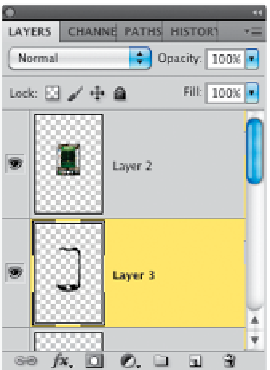
on the Create a New Layer icon at the
bottom of the Layers panel to create a
new blank layer just below your screen
capture layer, then get the Brush tool
(B)
,
choose a small, hard-edged brush, and
paint over those black areas so they look
nice and solid black (as seen here).


