Graphics Programs Reference
In-Depth Information
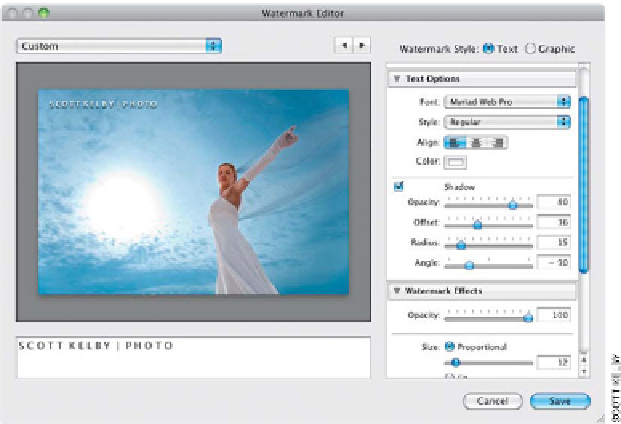
Step Five:
If your watermark is going over a lighter
background, you can add a drop shadow
using the Shadow controls in the Text
Options section. The Opacity slider controls
how dark the shadow will be. The Offset
is how far from the text your shadow will
appear (the farther you drag to the right,
the farther away the shadow will be). The
Radius is Adobe's secret code name for soft-
ness, so the higher you set the Radius, the
softer your shadow will become. The Angle
slider is for choosing where the shadow
appears, so the default setting of -90 puts
the shadow down and to the right. A set-
ting of 145 puts it up and to the left, and
so on. Just drag it, and you'll instantly see
how it affects the position of your shadow.
The best way to see if the shadow really
looks better or not is to toggle the Shadow
checkbox on/off a couple of times.
Step Six:
Now let's work with a graphic watermark,
like your studio's logo. The Watermark
Editor supports graphic images in either
JPEG or PNG format, so make sure your
logo is in one of those two formats. Scroll
back up to the Image Options section, and
where it says Please Choose a PNG or JPEG
Image, click the Choose button, find your
logo graphic, then click Choose, and your
graphic appears (unfortunately, the white
background behind the logo is visible, but
we'll deal with that in the next step). It
pretty much uses the same controls as
when using text—go to the Watermark
Effects section and drag the Opacity
slider to the left to make your graphic see-
through, and use the Size slider to change
the size of your logo. The Inset sliders let
you move your logo off the edges, and the
Anchor grid lets you position the graphic in
different locations on your image. The Text
Options and Shadow controls are grayed
out, since you're working with a graphic.