Graphics Programs Reference
In-Depth Information
Sooner or later, you're going to run into a situation where some of the more
contrasty edges around your subject have either a red, green, or more likely,
a purple color halo or fringe around them (these are known as “chromatic
aberrations”). You'll find these sooner (probably later today, in fact) if you have
a really cheap digital camera (or a nice camera with a really cheap wide-angle
lens), but even good cameras (and good lenses) can fall prey to this problem
now and again. Luckily, it's easy enough to fix in Lightroom.
Step One:
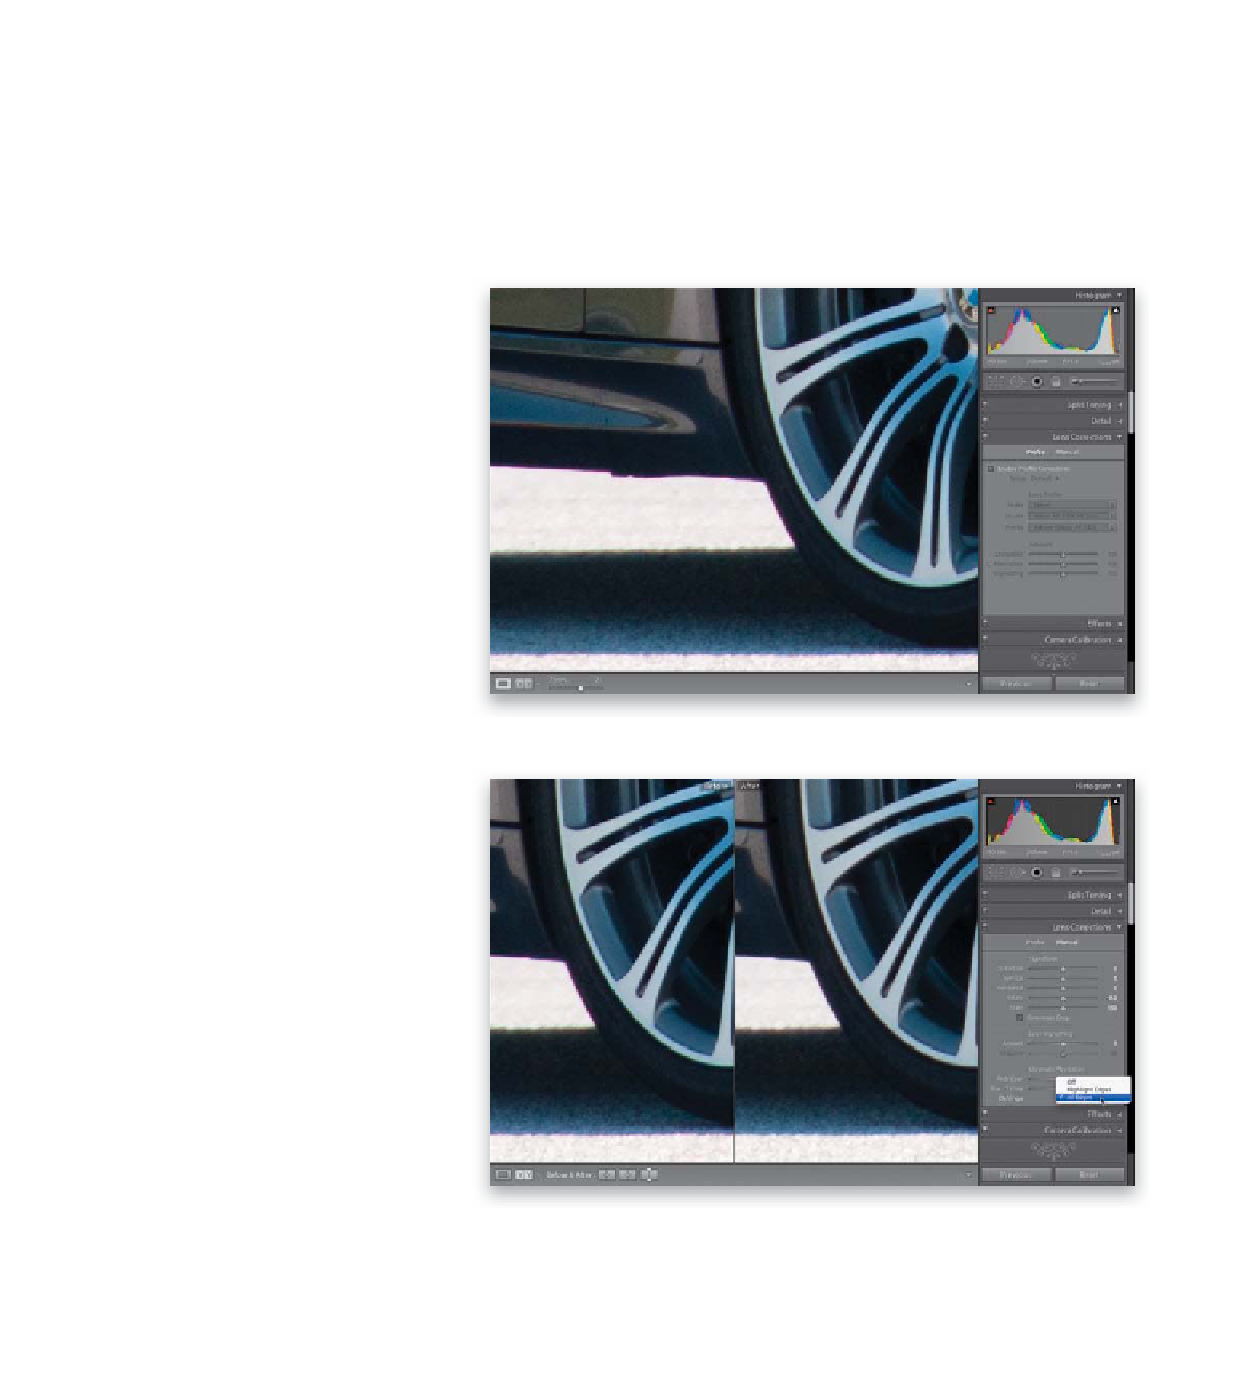
If you look closely here, it looks like someone
traced around the edges with a very thin
red magic marker (it looks like a thin red-
dish fringe along the bottom of the car,
the side of the tire, and the front of the
shadow). If this is happening to one of your
images, first go to the Lens Corrections panel
and click on Profile at the top, then zoom
in on an edge area with the color fringe
(I zoomed in to 2:1), so you can see how
your adjustments affect the edge.
Step Two:
Tur n on the Enable Prof ile Cor rec tions
checkbox, and Lightroom tries to remove
the color fringe based on your lens' make
and model (it learns this from your image's
EXIF data. See page 206 for more info). If
the image still needs correction, try the
C. Aberration slider under Amount. If the
automatic way still isn't working, try click-
ing on Manual at the top, and
once you've
identified which color the fringe is (here it's
red), go to the Chromatic Aberration sec-
tion of the panel and you'll see two sliders—
Red/Cyan and Blue/Yellow. Here, since our
problem is red, click-and-drag the Red/Cyan
slider to the right, away from red, until
the fringe is gone (if the fringe was blue
or yellow, you'd use the next slider down
and click-and-drag away from the prob-
lem color). That being said, the few times
I've had to adjust for this problem, I just
chose
All Edges
from the Defringe pop-up
menu—it usually removes that edge fringe
without having to move any sliders (I did
move the Red/Cyan slider a little bit to the
right, though). You can see in the before/
after, it greatly reduced the red edge fringe.


