Graphics Programs Reference
In-Depth Information
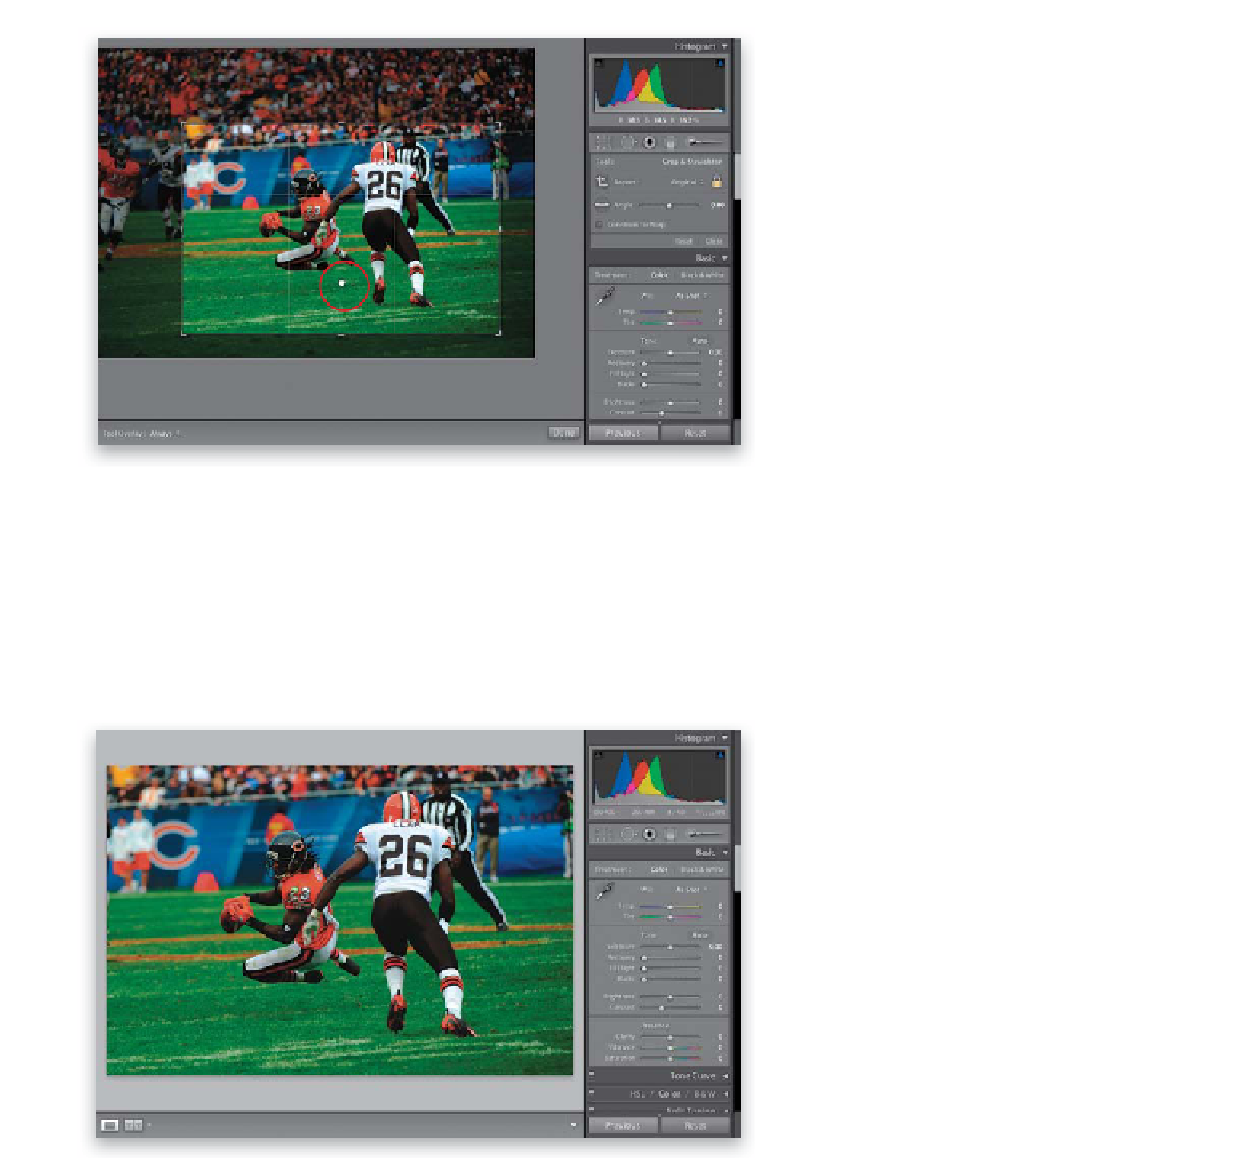
Step Three:
Now the bottom-right corner needs to
be tucked in a bit to get us nice and tight
in on the action (you did download this
photo, right? The URL for the downloads
is in the topic's introduction). So, grab the
bottom-right corner and drag it diagonally
inward to eliminate as much of the ex-
cess field as possible for a nice, tight crop
(as seen here). If you need to reposition
the photo inside the cropping border, just
click-and-hold inside the Crop Overlay
border and your cursor will change into the
“grabber hand” (shown here).
TIP: Hiding the Grid
If you want to hide the rule-of-thirds
grid that appears over your Crop Overlay
border, press
Command-Shift-H (PC:
Ctrl-Shift-H)
. Also, there's not just a rule
of thirds grid, there are other grids—just
press the letter
O
to toggle through the
different ones.
Step Four:
When the crop looks good to you, press
the letter
R
on your keyboard to lock it in,
remove the Crop Overlay border, and show
the final cropped version of the photo (as
seen here). But there are two other choices
for cropping we haven't looked at yet.
TIP: Canceling Your Crop
If, at any time, you want to cancel your
cropping, just click on the Reset button
at the bottom-right side of the Crop &
Straighten options panel.
Continued