Graphics Programs Reference
In-Depth Information
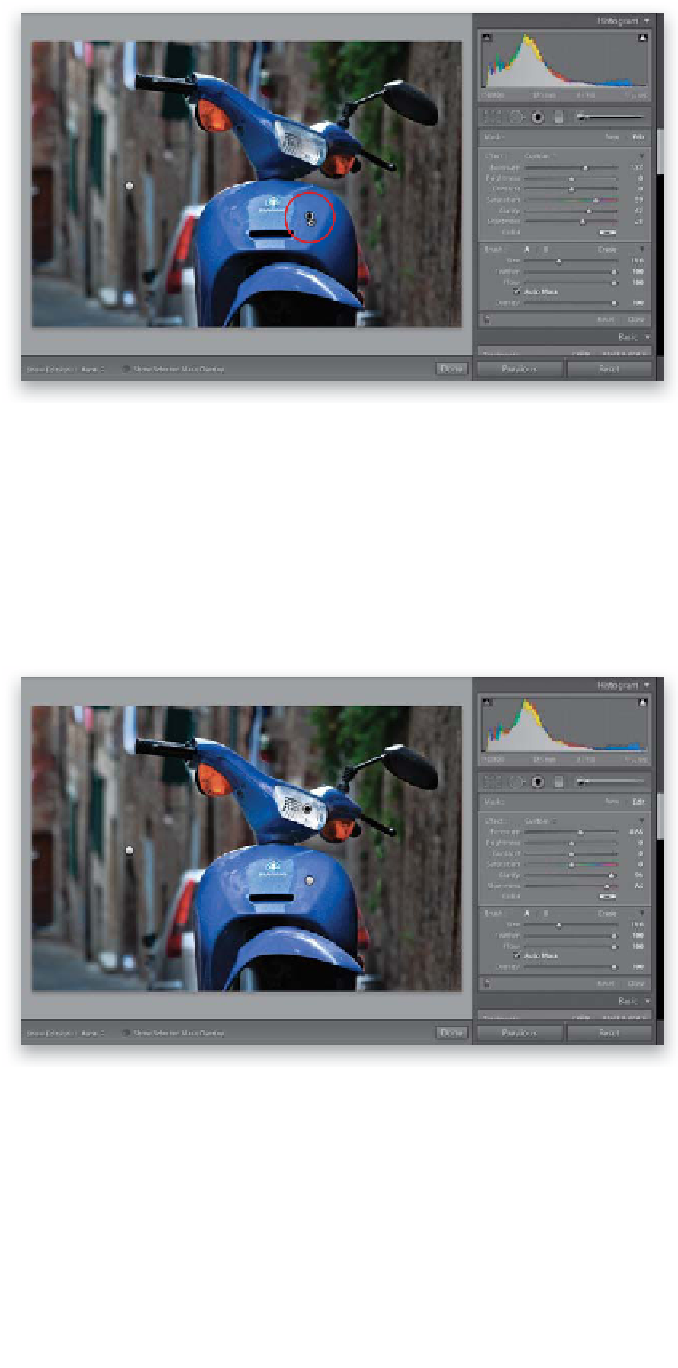
Step Nine:
When you first start painting, the Adjust-
ment Brush lays down an Edit Pin which
marks the area you're editing. You started
by painting on the scooter (that's your
first pin), then you clicked the New button
and painted over the background (which
added your second Edit Pin), so now you
have two different Edit Pins for this photo.
These pins are important because by click-
ing on one (or the other) you're telling
Lightroom which area you want to adjust.
You can tell which area you're editing by
looking at the Edit Pins themselves. If the
pin has a round circled filled with black,
that means it's the currently active pin,
so changes you make to the sliders affect
the area you painted with that pin. The
other Edit Pin will be a plain white circle.
To switch to this other pin, just click on it,
and it's now filled with black (as seen here),
letting you know the scooter's pin is now
active, and changes you make will now
affect just the scooter.
Step 10:
Let's add another Edit Pin, so you can
get used to working with multiple areas.
Click the New button, then paint over the
headlight. Since the last thing you did was
darken the background, it assumes you
want to do that again (which we don't),
so drag the Exposure slider to the right
to brighten the headlight, then drag the
Clarity and Sharpness sliders way over to
the right to make the headlight nice and
sharp. Move your cursor anywhere out
over your image area and you'll see three
Edit Pins now: (1) on the front of the
scooter, which lets you edit the scooter (by
the way, click on that one, and brighten
the Exposure a bit); (2) the background;
and (3) the headlight (click on that one,
and make it a little brighter, as well).