Graphics Programs Reference
In-Depth Information
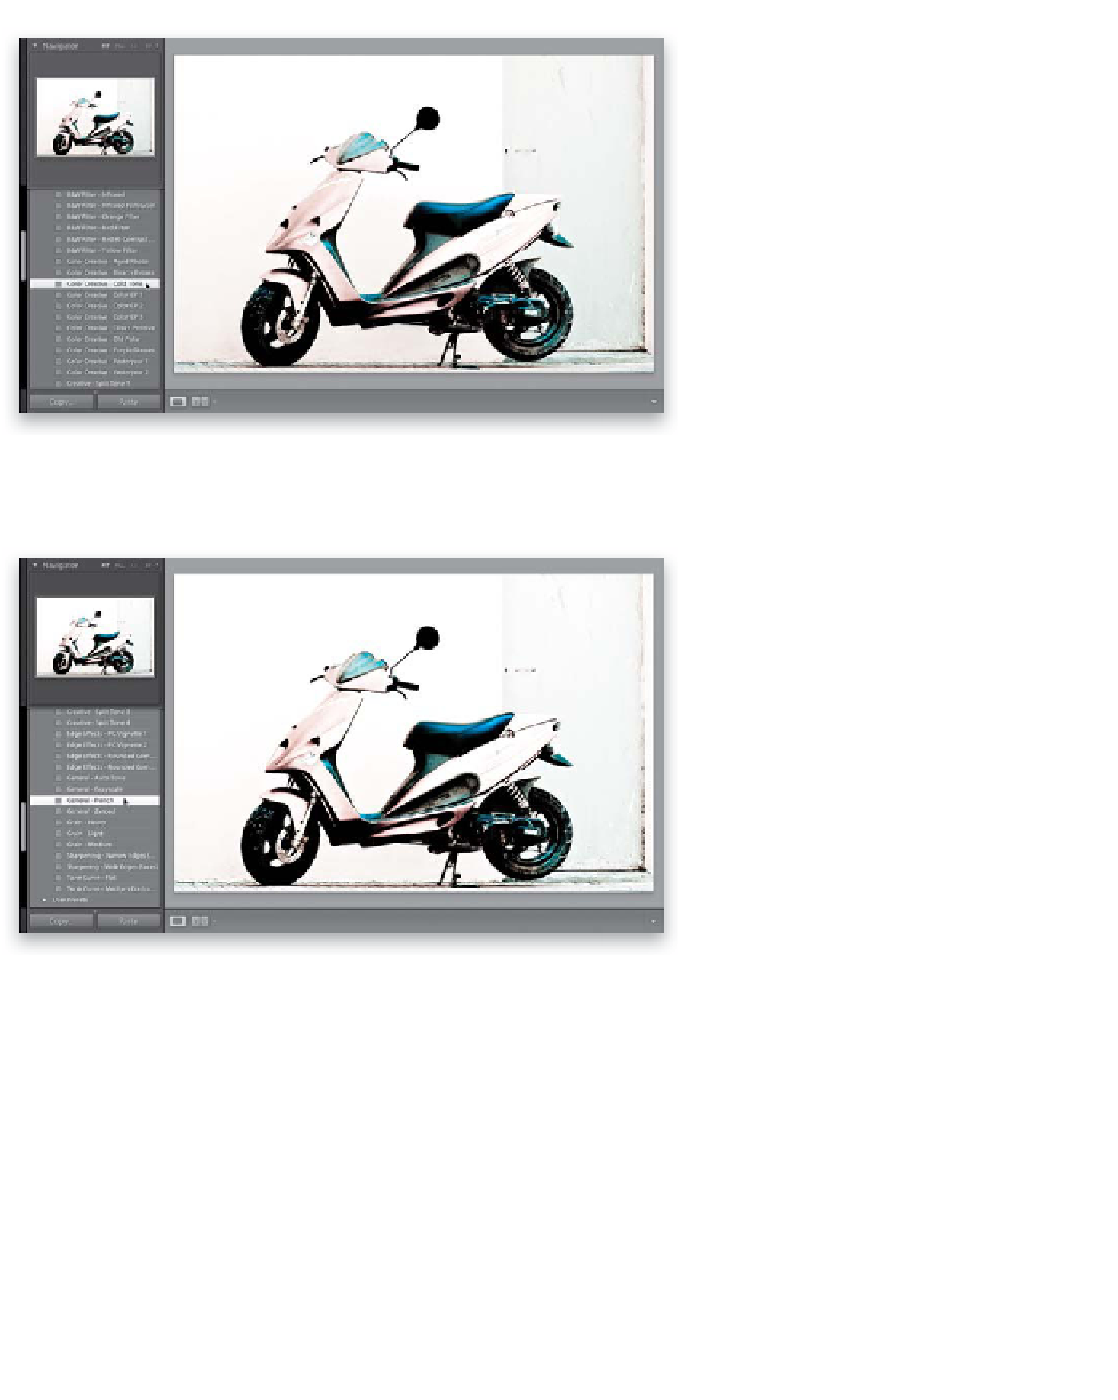
Step Three:
To actually apply one of these presets ,
all you have to do is click on it. In the
example shown here, I clicked on the
Color Creative preset, Cold Tone, which
gives the effect you see here.
TIP: Renaming Presets
To rename any preset you created
(a user preset), just Right-click on
the preset and choose
Rename
from
the pop-up menu.
Step Four:
Once you've applied a preset, you can
apply more presets and those changes
are added right on top of your current
settings, as long the new preset you chose
doesn't use the same settings as the one
you just applied. So, if you applied a pre-
set that set the Exposure, Fill Light, and
Shadows, but didn't use Clarity, if you
then chose a preset that just uses Clarity,
it adds this on top of your current preset.
Otherwise, it just moves those sliders
again. For example, after I applied the
Cold Tone preset, I felt it looked kind
of flat and lacked contrast. So, I scrolled
down toward the bottom of the built-in
presets and clicked on the Tone Curve -
Medium Contrast preset. Then, I clicked
on the General - Punch preset to give us
the image you see here. Just three clicks
and I was able to add a special effect
tinting, more contrast, and an overall
sharper, punchier look.
Continued