Graphics Programs Reference
In-Depth Information
Lightroom comes with a number of built-in tonal correction presets that you can
apply to any photo with just one click. These are found in the Presets panel over
in the left side Panels area, where you'll find two different collections of presets:
Lightroom Presets (the built-in ones put there by Adobe) and User Presets (ones
you create to apply your favorite combinations of settings with just one click). Some
of the built-in ones are pretty decent, and some are, well…well…let's just say that
I haven't had an instance to use them yet. Here's how to put presets to work for you:
Step One:
We'll start by looking at how to use the
built-in presets, then we'll create one of
our own, and apply it in two different
places. First, let's look at the built-in pre-
sets by going to the Presets panel (found
in the left side Panels area), and clicking
on the right-facing arrow to the left of
Lightroom Presets to expand the set,
and see the built-in presets within it (as
shown here). Adobe named these built-in
presets by starting each name with the
type of preset it was, so those that start
with “B&W Creative” are black-and-white
special effect presets, those starting with
“General” are just standard tone control
presets, and those that start with “Sharpen-
ing” are…do I even have to explain this one?
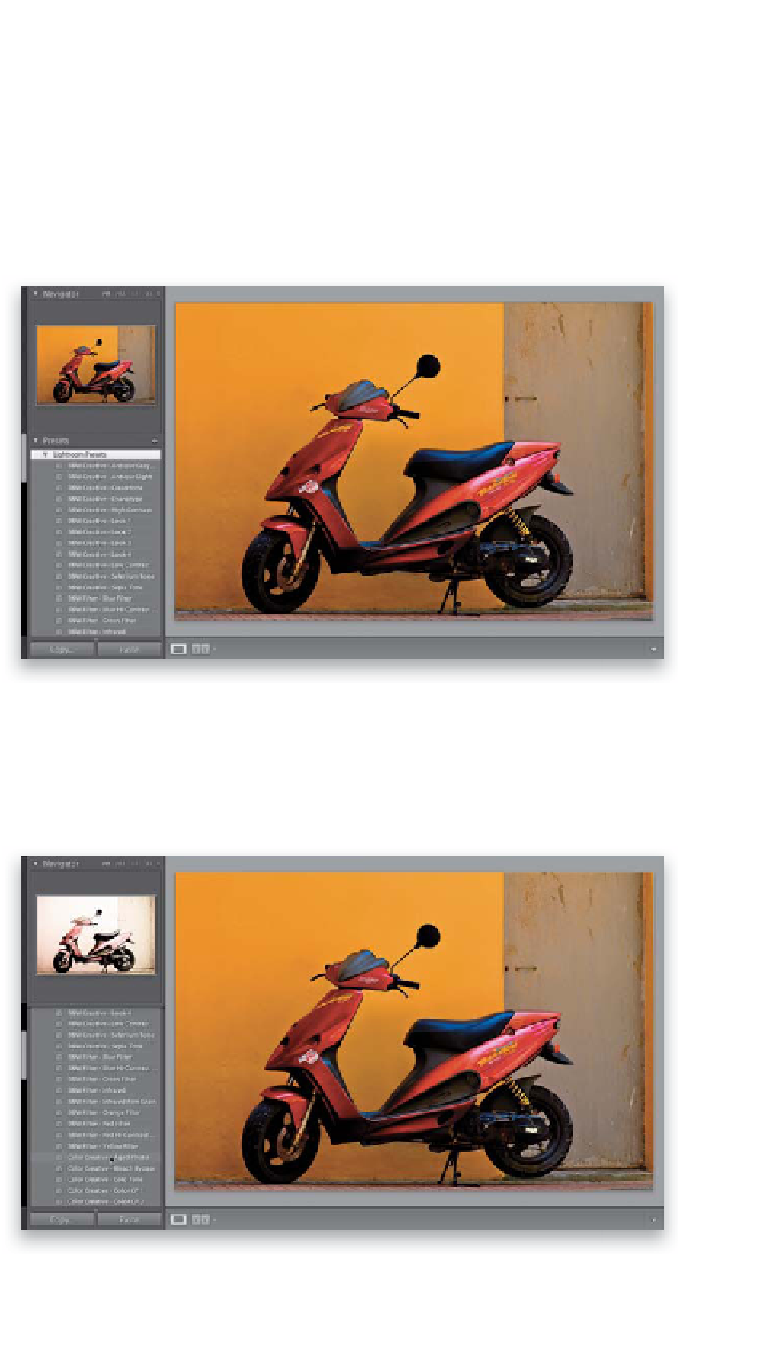
Step Two:
You can see a preview of how any of these
presets will look, even before you apply
them, by simply hovering your cursor over
the presets in the Presets panel. A preview
will appear above the Presets panel in the
Navigator panel (as shown here, where I'm
hovering over a Color Creative preset called
Aged Photo, and you can see a preview of
how that color effect would look applied
to my photo, up in the Navigator panel,
at the top of the left side Panels area).