Graphics Programs Reference
In-Depth Information
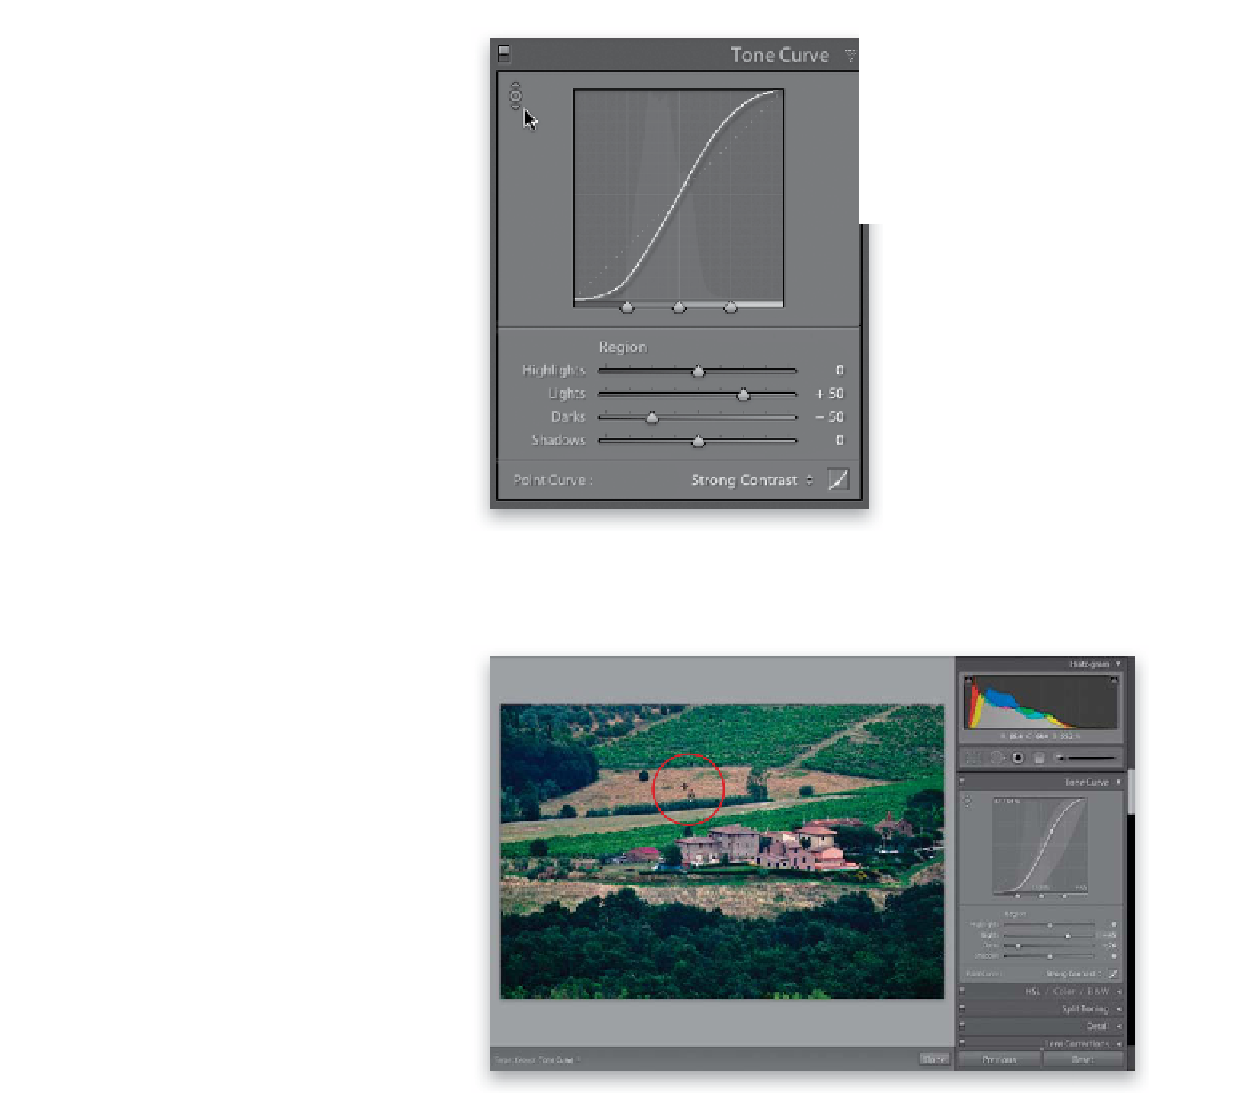
Step Five:
Another way to adjust the contrast using
the tone curve is to use the Targeted
Adjustment tool (or TAT, for short). The
TAT is that little round target-looking icon
in the top-left corner of the Tone Curve
panel (when you move your cursor over
it, two triangles pointing up and down will
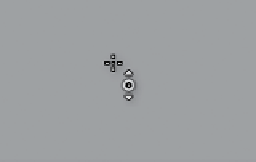
show. It's shown circled here in red). When
you click on that little target icon, your
cursor changes to the cursor seen here on
the right—a precise crosshair cursor to the
top left of a little target icon with triangles
on the top and bottom. This tool lets you
interactively adjust the tone curve by
clicking-and-dragging it right within your
photo. The crosshair part is actually where
the tool is located—the target with the
triangles is there just to remind you which
way to drag the tool, which (as you can see
from the triangles) is up and down.
Step Six:
Now, let's put it to use. Take the TAT and
move it out over your photo (over the
brown grass, in this case). Look over at
the tone curve and you'll see two things:
(1) there's a point on the cur ve where the
tones you're hovering over are located, and
(2) the name of the area you'll be adjust-
ing appears at the bottom of the graph
(in this case, it says Lights). To darken the
grass, just click on that area (as shown here)
and drag straight downward (if you had
dragged straight upward, it would have
brightened the grass instead). You can
move around your image and click-and-
drag straight upward to adjust the curve
to brighten those areas, and drag straight
downward to have the curve darken those
areas. When you're done, click the TAT
back where you found it. By the way,
the keyboard shortcut to get the TAT is
Command-Option-Shift-T (PC: Ctrl-
Alt-Shift-T)
.