Graphics Programs Reference
In-Depth Information
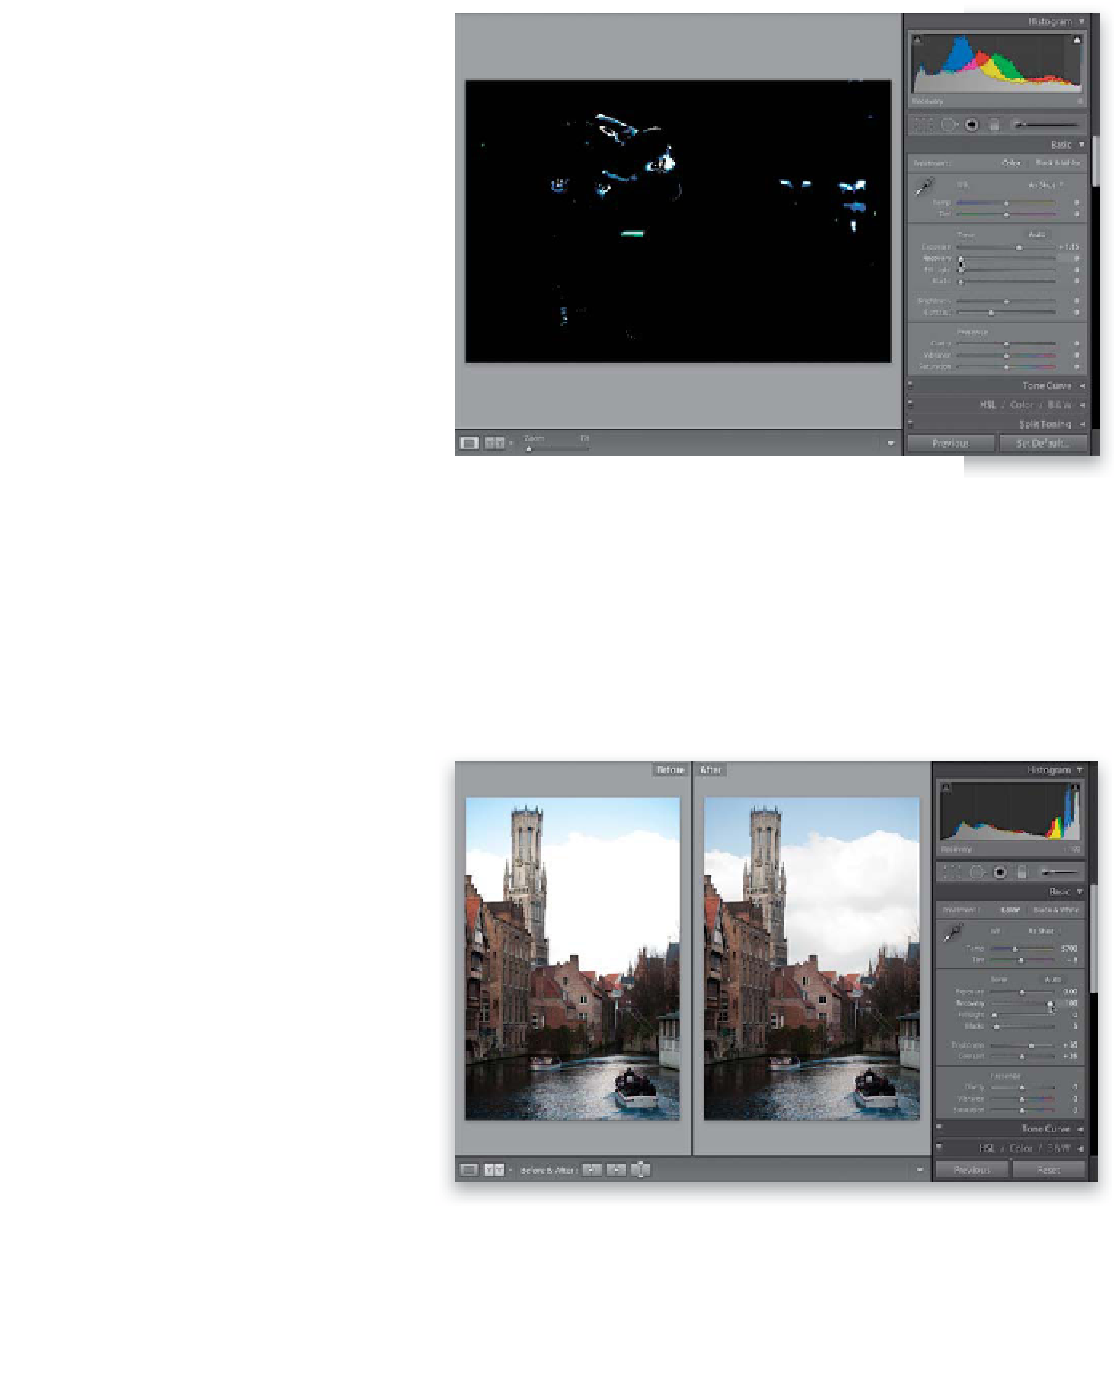
Step Five:
I always start by adjusting the Exposure
slider first, and then if I see a clipping
warning, I go to the Recovery slider and
drag it to the right until my highlights
come back into line. By the way, if you
don't like seeing the clipped areas appear
in red (or if you're working on a photo
with a lot of red in it already, so the red
clipping warnings get lost), instead, you
can press-and-hold the Option (PC: Alt)
key as you click-and-drag the Exposure
slider. The screen turns solid black, and
any areas that are clipping will show up
in white (as seen here). You can also hold
this same key as you click-and-drag the
Recovery slider, and you just keep dragging
until all the areas turn solid black again.
TIP: Toggling the Warnings On/Off
You don't have to go up there and click
on that triangle every time. If you press
the letter
J
on your keyboard, it toggles
that red clipping warning that appears
over the clipped highlights in your photo
on/off.
Step Six:
We're going to jump over to a different
photo for a just a moment, to tell you
about another hidden benefit of using
the Recovery slider: it works wonders in
adding detail and drama to skies in land-
scape shots (especially ones with lots of
clouds). Just click-and-drag the Recovery
slider all the way over to the right (to 100),
and watch what it does for your skies.
Give it a try and see what you think.
TIP: Speed Editing
This may be my favorite shortcut in all of
Lightroom: to jump to the next slider in the
Basic panel, just press the
. (period) key
on
your keyboard (you'll see the adjustment
name highlight) and use the
+ (plus sign)
key
and
- (minus sign) key
to increase or
decrease the amount; press the
, (comma)
key
to move back. I love it!