Graphics Programs Reference
In-Depth Information
Now that your white balance is set, the next thing we adjust is our
overall exposure. Although there is an Exposure slider, it takes three
sliders (and sometimes four) to set the overall exposure. Luckily, not
only is this much easier than it sounds, Lightroom has all kinds of
tools to help make your job easier.
How to Set Your
Step One:
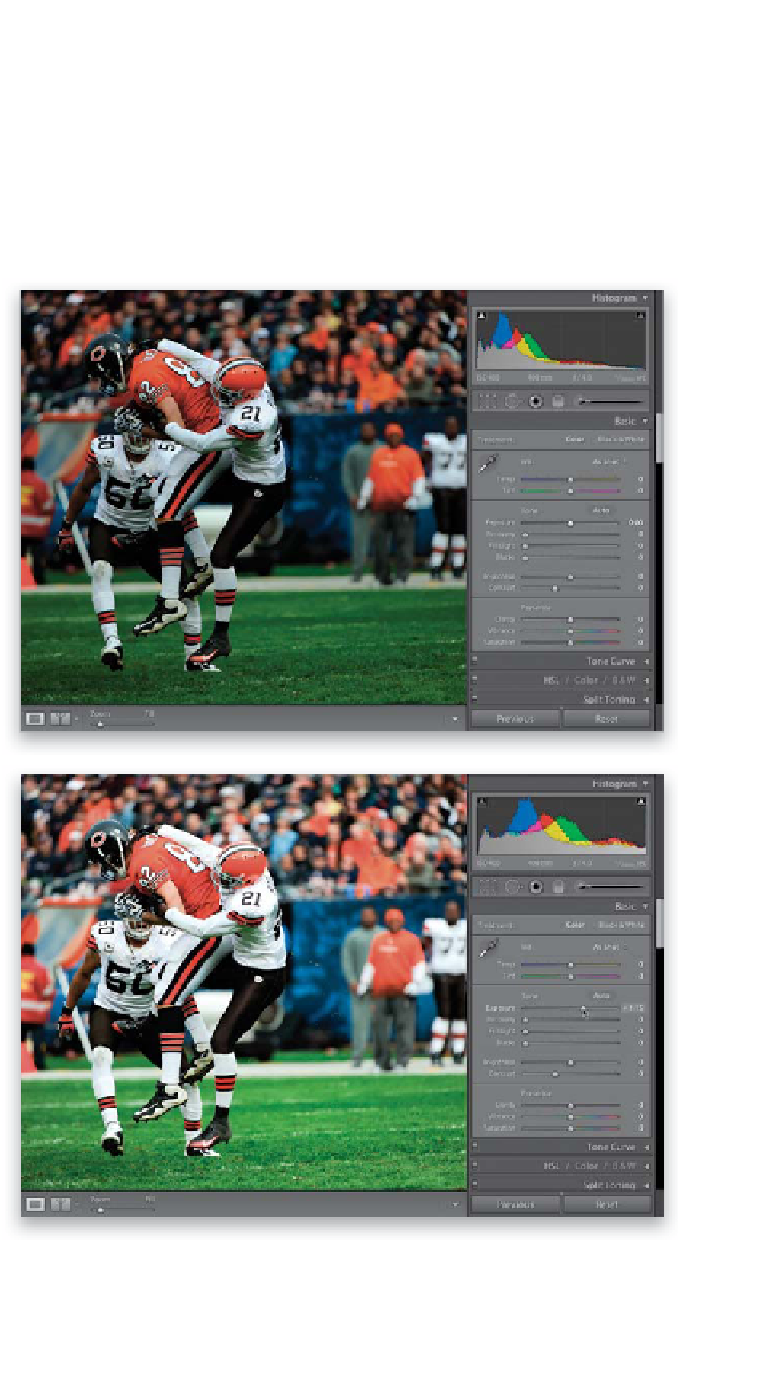
To set your overall exposure, you use the
Tone section of the Ba sic panel (that sec-
tion is shown within a red rectangle here).
The photo shown here looks underexposed,
and if you look up in the Histogram panel
at the top of the right side Panels area,
you can see there's virtually no data on
the right side of the histogram (that's
where all the highlights should be).
So if you were wondering, “Is it under-
exposed?” well, there's your answer.
Step Two:
To make the overall photo brighter, just
click-and-drag the Exposure slider to the
right, as shown here (just like with the
White Balance sliders, you get a visual cue
of which way to drag by looking at the
slider itself—white is on the right side of
the slider, so dragging right [toward white]
would make this adjustment lighter, and
dragging left [toward black] would make
things darker). Easy enough. However,
there's one critically important thing to
watch out for: if you drag too far to the
right, you run the risk of losing detail in
your highlights (in other words, your
highlights get so bright that they literally
“blow out” and you lose all detail in those
areas). This is called “clipping” your high-
lights, and luckily Lightroom not only
warns you if this happens, but in most
cases, you can also fix it.