Graphics Programs Reference
In-Depth Information
When you're in Loupe view (the zoomed-in view of your photo), besides just
displaying your photo really big, you can display as little (or as much) information
about your photo as you'd like as text overlays, which appear in the top-left
corner of the Preview area. You'll be spending a lot of time working in Loupe
view, so let's set up a custom Loupe view that works for you.
See in Loupe View
Step One:
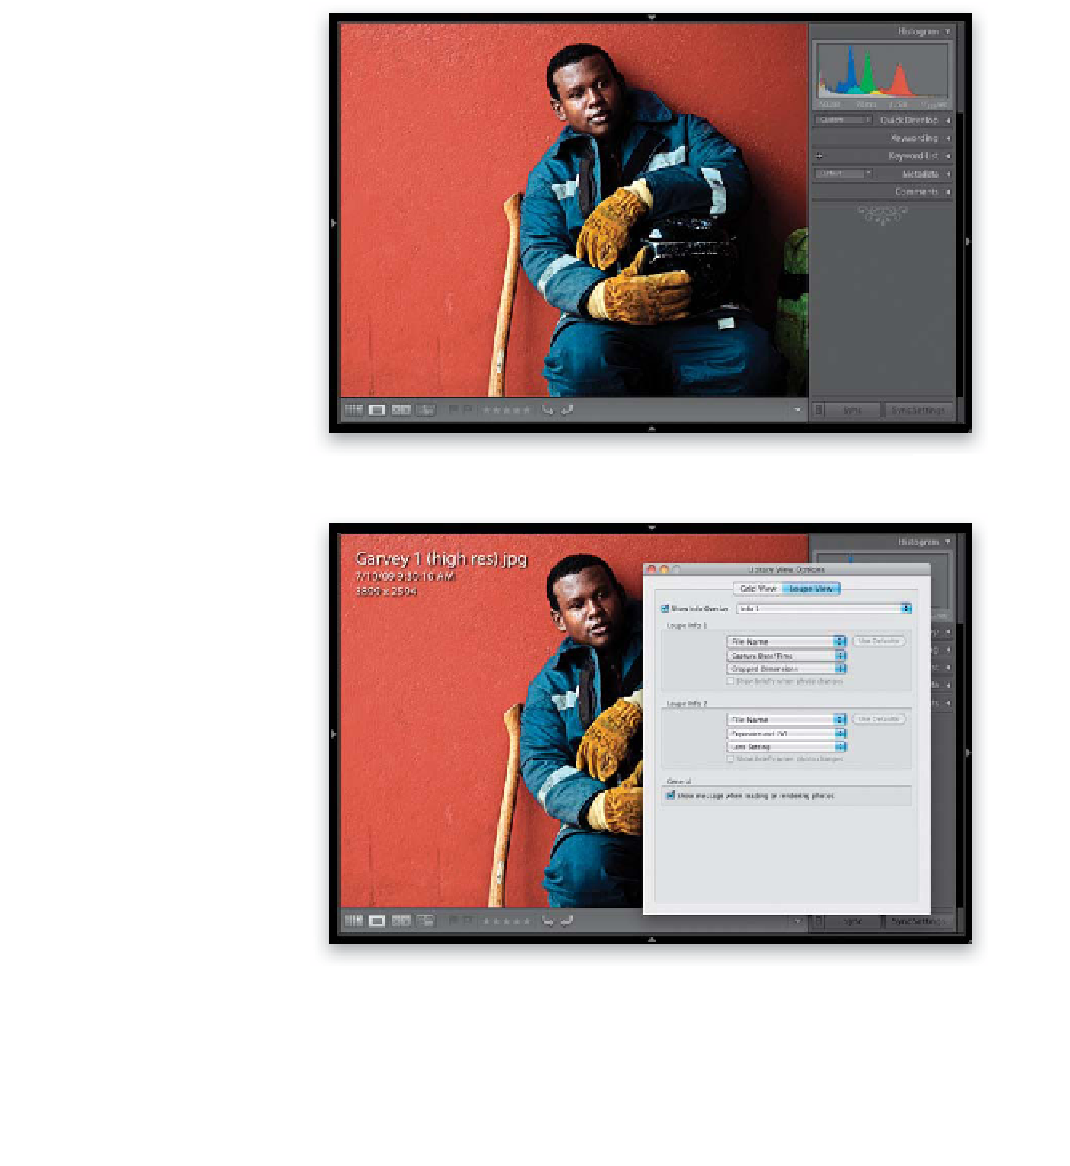
In the Library module's Grid view, click on
a thumbnail and press
E
on your keyboard
to jump to the Loupe view (in the example
shown here, I hid everything but the right
side Panels area, so the photo would show
up larger in Loupe view).
Step Two:
Press
Command-J (PC: Ctrl-J)
to bring up
the Library View Options dialog and then
click on the Loupe View tab. At the top of
the dialog, turn on the Show Info Overlay
checkbox. The pop-up menu to the right
lets you choose from two different info
overlays: Info 1 overlays the filename of
your photo (in larger letters) in the upper-
left corner of the Preview area (as seen here).
Below the filename, in smaller type, is the
photo's capture date and time, and its
cropped dimensions. Info 2 also displays
the filename, but underneath, it displays
the exposure, ISO, and lens settings.


