Graphics Programs Reference
In-Depth Information
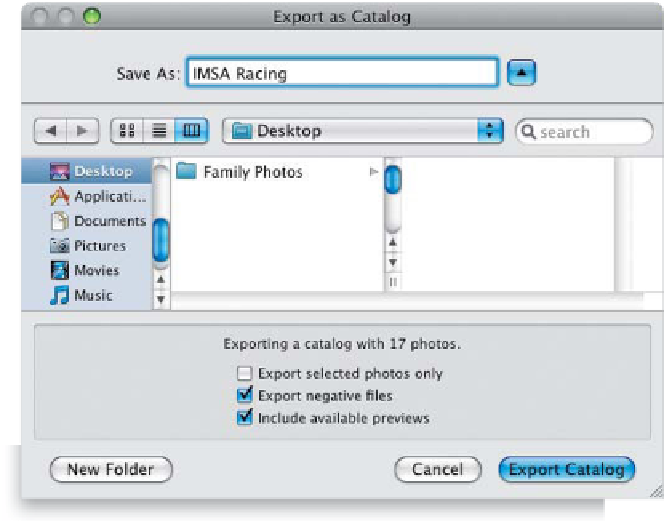
Step Three:
When you choose Export as Catalog, it
brings up the Export as Catalog dialog
(shown here), where you type in the name
you want for your exported catalog at the
top, but there are some very important
choices you need to make at the bottom.
By default, it assumes that you want to
include the previews that Lightroom cre-
ated when you imported the photos into
Lightroom, and I always leave this option
turned on (I don't want to wait for them
to render all over again when I import
them into my studio computer). If you
turn on the top Export Selected Photos
Only checkbox, then it will only export
photos in that folder that you had selected
before you chose Export as Catalog. But
perhaps the most important choice is the
center checkbox—Export Negative Files.
With this off, it only exports previews and
metadata, it doesn't really export the actual
photos themselves, so if you do indeed
want to export the actual photos (I always
do), then turn the center checkbox on.
Step Four:
When you click the Export Catalog button,
it exports your catalog (it usually doesn't
take very long, but of course the more
photos in your collection or folder, the
longer it will take), and when it's done
exporting, you'll see the folder on your
computer that you exported (as seen
here). I usually save this file to my desktop,
because the next step is to copy it onto
an external hard drive, so you can move
this folder full of images over to your stu-
dio computer. So, go ahead and copy this
folder onto an external hard drive now.
Continued