Database Reference
In-Depth Information
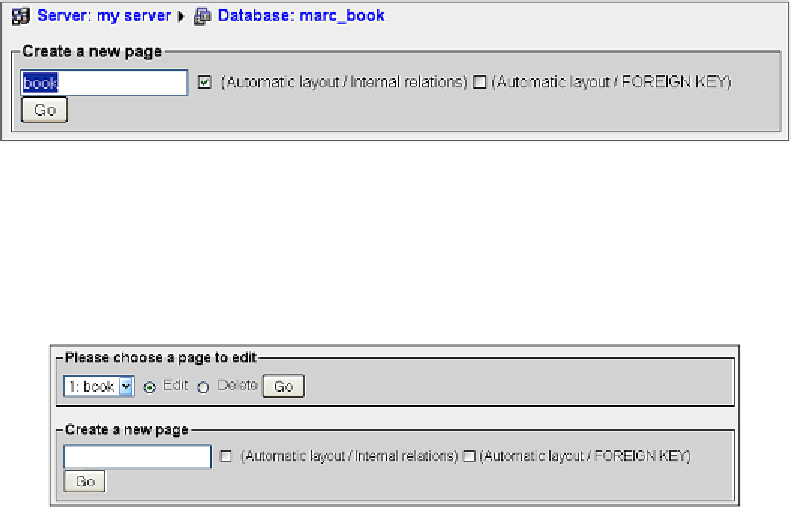
We will choose which tables we wish to see in the relational schema. We could
choose each table individually. However, for a good start, checking the appropriate
Automatic layout
checkbox is recommended. Doing this puts all the related
tables from our database onto the list of tables to be included in the schema. It
then generates appropriate coordinates so that the tables will appear in a spiral
layout, starting from the center of the schema. These coordinates are expressed in
millimeters, with (0, 0) being located at the upper left corner. We then click
Go
.
Editing a page
We now get a page with three different sections. The first one is the master menu,
where we choose the page on which we want to work (from the drop-down menu).
We can also delete the chosen page. We could also eventually create a second
schema (page).
The next section is the table placement portion. We can now see the benefit of the
Automatic layout
feature—we already have our three tables selected, with the
(X, Y) coordinates filled in. We can add a table (on the last line), delete a table
(using the checkbox), and change the coordinates (which represent the position of
the upper left corner of each table on the schema).


Search WWH ::

Custom Search