Hardware Reference
In-Depth Information
There is now one i nal step: you must
upload
the program onto your Arduino.
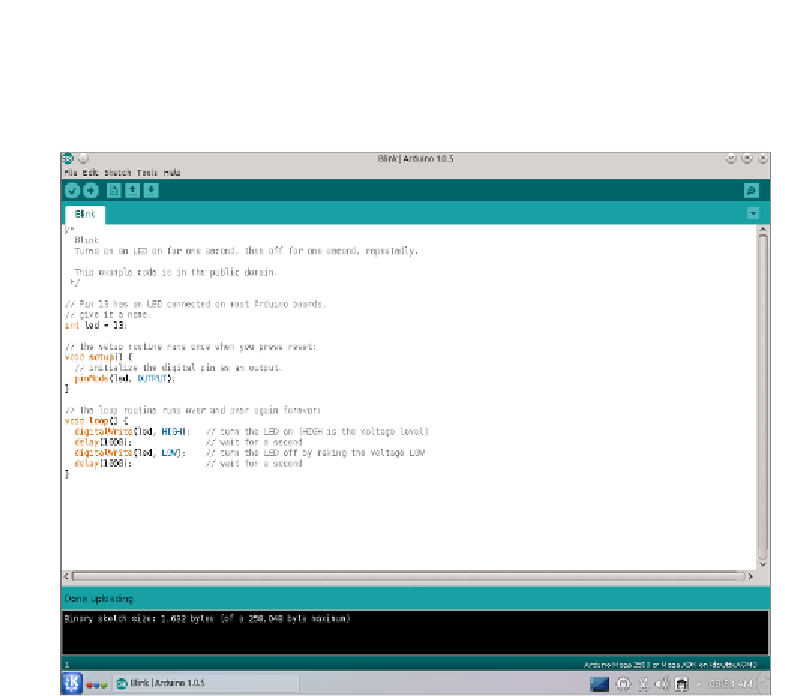
Simply click the Upload button next to the Verify button, or go to the menu item
File
Upload. Again, a keyboard shortcut is available: Ctrl+U, as shown in
Figure 2-5. The upload process also re-verii es the source code before uploading.
➪
Figure 2-5:
Successful upload
The Arduino IDE now attempts to contact the Arduino board and transfer
the program into the microcontroller's l ash memory. A message at the bottom
should soon display the text “Done Uploading”. Now look at your Arduino
board. Next to the USB connector, a small LED should be blinking; the same one
used to verify that your Arduino was working in the beginning of the chapter.
This time, it should be blinking two to three times per second. Congratulations!
You have now successfully uploaded your i rst Arduino program!
The program has now been written into l ash memory, but what does that
mean? Like a program on a computer, it has been “installed” into the nonvolatile
memory and will be executed every time you turn on the Arduino, so try that
right now. Unplug your Arduino from the USB port, wait a few seconds, and
then plug it back in. The Arduino will be powered again from the USB port,
and after a few seconds, the LED will start to l ash. Your program is running.


Search WWH ::

Custom Search