Hardware Reference
In-Depth Information
If this source code doesn't make much sense to you, don't worry; everything
will be explained a little later. Seasoned C developers might have a few ques-
tions, which will also be answered later.
The previous sketch is an entire program. You can either type it in or use the
Arduino IDE directly; this code listing is actually an example from the Arduino
IDE. To open it, go to File
Blink, and a new window
will open with the code. This sketch has
comments
, text zones where the user
can write about what he is intending to do, indicated by // at the beginning of
the line. Have a quick read through, and try to see what the program is doing.
When you are ready, it is time to upload your i rst program!
Uploading
means
installing the binary code onto the Arduino board. Make sure your Arduino
board is connected to your development computer via USB. For this example,
use an Arduino Uno or Arduino Mega. This code can run on all the Arduinos,
so feel free to use whichever you have. To upload the program, a few simple
steps must i rst be completed. The IDE needs to know what type of board is
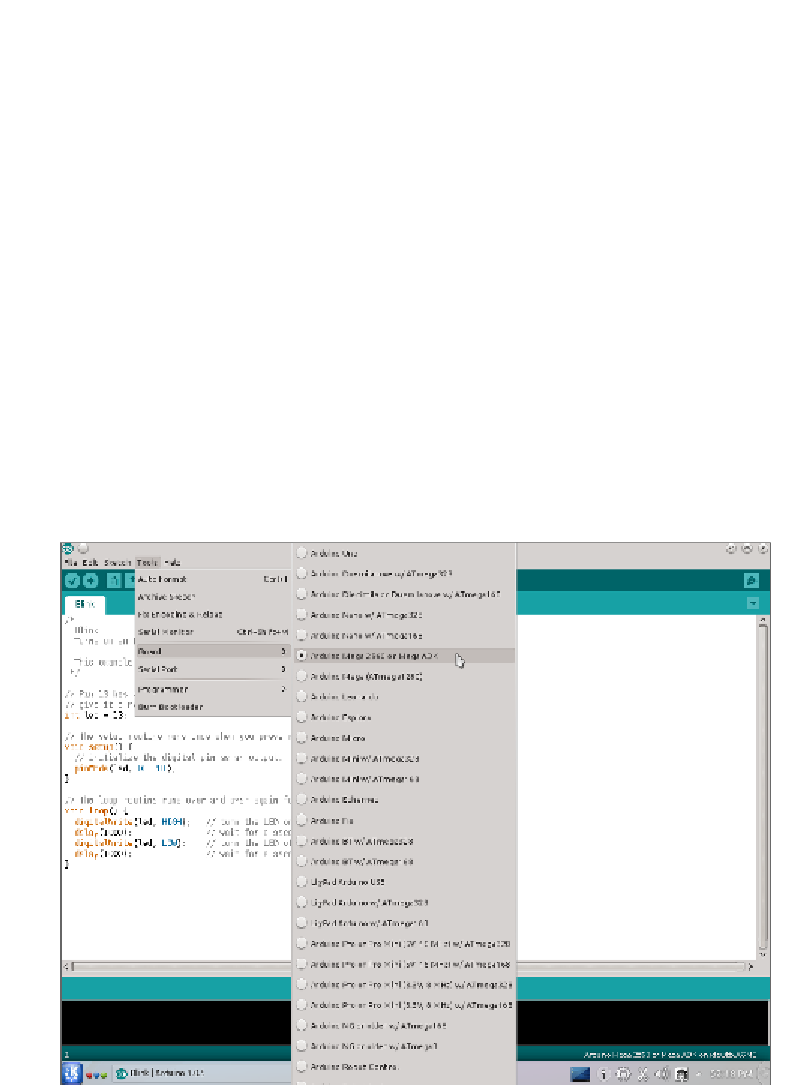
connected. First, go into the menu; Tools
➪
Examples
➪
01.Basics
➪
Board, and select your board. As
you can see, there are a lot of different boards to choose from. Select the entry
that corresponds to your board; in this example, I have an Arduino Mega 2560,
as illustrated in Figure 2-3.
➪
Figure 2-3:
Arduino IDE with the Arduino Mega 2560 selected


Search WWH ::

Custom Search