Database Reference
In-Depth Information
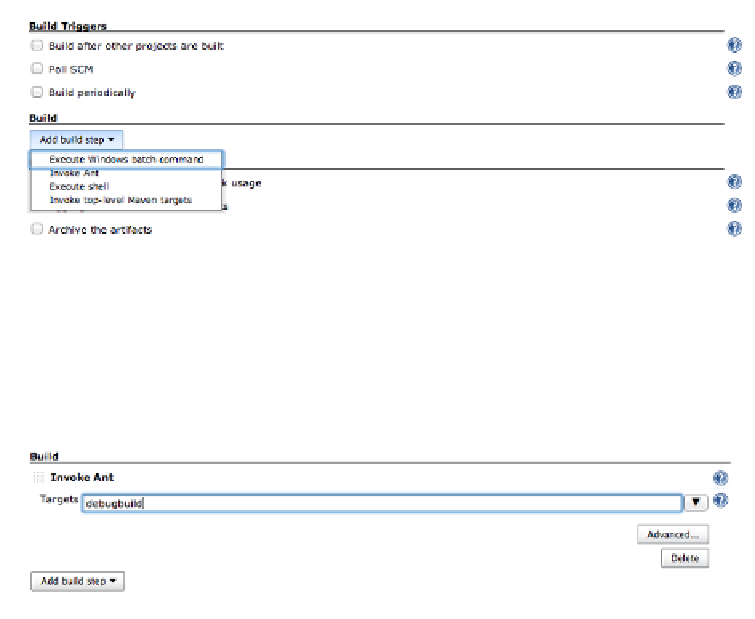
The other step required is to add a build step, which is done by going down to the Build
section of the configuration, and clicking on the Add Build Step pulldown (
Fig-
ure 3-7
). From this menu, we want to use Invoke Ant.
Figure 3-7. Adding an Ant task to Hudson
Selecting this choice gives use a single parameter to fill out: the targets to build. In this
case, we want to use the
debugbuild
target, so we fill that in (
Figure 3-8
) and save the
configuration. Now we're ready to rumble!
Figure 3-8. Setting up the Ant target
If we go back to the main Hudson window and hit the play button for the build, which
tells Hudson to start running the build, we should (if everything went according to
plan) end up with a good build. Going into the new build, we can look at the console
output, and see everything worked as expected:
Started by user anonymous
[BuggyWhipBuild] $ cvs -Q -z0 -d /usr/local/CVS co -P \
-d workspace -D "Friday, July 15, 2011 3:41:38 PM UTC" buggywhipchat
$ computing changelog
[workspace] $ ant debugbuild
Buildfile: /Volumes/Homes/James/.hudson/jobs/BuggyWhipBuild/workspace/build.xml
debugbuild:
[echo] Building debug build of BuggyWhipChat
[exec] === BUILD NATIVE TARGET ChatAPI OF PROJECT ChatAPI WITH CONFIGURATION Debug
===
.
.


