Java Reference
In-Depth Information
Now, GlassFish (or whatever application server we are using for our project) will
start automatically, if it hadn't been started already. The default browser will open
and it will automatically be directed to our page's URL.
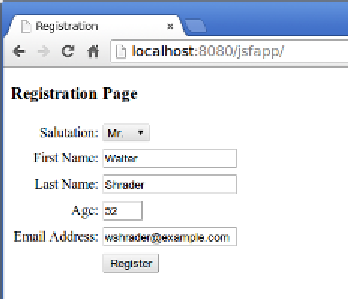
After entering some data on the page, it should look something like the following
screenshot:
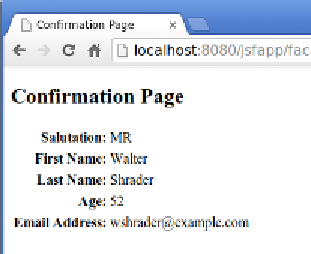
When we click on the
Register
button, our
RegistrationBean
named bean is
populated with the values we entered into the page. Each property in the field
will be populated according to the value binding expression in each input field.
At this point, JSF navigation kicks in and we are taken to the confirmation page.
The values displayed on the confirmation page are taken from our named bean,
confirming that the bean's properties were populated correctly.
JSF validation
Earlier in this chapter, we discussed how the
required
attribute for the JSF input
fields allows us to easily make input fields mandatory.