Database Reference
In-Depth Information
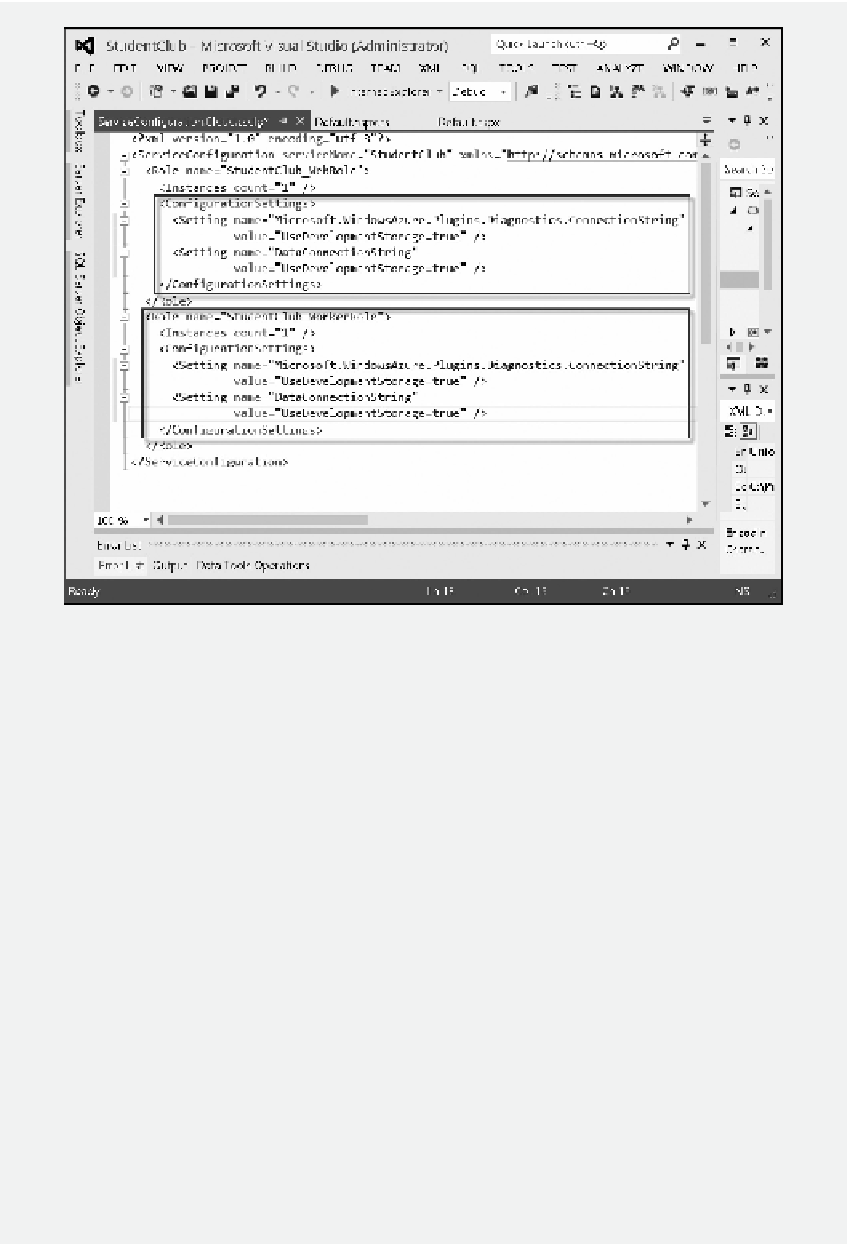
Figure 11.36
ServiceConiguration.Cloud.cscfg File.
4. Replace the values for the Setting section with the default protocol as https,
AccountName as the name of your Windows Azure storage account, and AccountKey
as the Primary access key (Figure 11.37).
5. In the Solution Explorer pane, expand the
Roles
node, and then double click
StudentClub_WebRole
. Click the
Settings
link. Select the
Microsoft Windows
Azure ...
connection string and click the ellipsis button
[...]
as shown in Figure 11.38.
6. Conigure the Connection String type to https for DefaultEndpointsProtocol, specify
AccountName to use the name of your Windows Azure storage account, and specify
AccountKey to use your Windows Azure Primary access key (Figure 11.39). hen
click
OK
. Do the same to conigure StudentClub_WorkerRole.
7. To publish to the cloud, right click the
StudentClub
cloud project and select
Package
. In the
Package Windows Azure Application
dialog, select
Cloud
from
the
Service coniguration
dropdown list and select
Release
from the
Build con-
iguration
dropdown list as shown in Figure 11.40. hen, click
Package
. After the
package is built, the StudentClub package will be displayed in Windows Explorer.
Record the path to the folder for later use.
8. Assume that you are still on the virtual machine. In the web browser, log on to the
Windows Azure Management Portal
. Click the
CLOUD SERVICE
link and click
your newly created cloud service. Click
STAGING
to indicate that the project is to be