Database Reference
In-Depth Information
ACTIVITY 11.2 USING BLOB STOR AGE
In this activity, you will irst create a container and Blob. Next, you will implement the
actions behind the command button to upload the images. hen, you will test and view the
content stored in the Blob storage.
1. As the code for creating the Blob service has been added in Task 4 of Activity 11.1,
this activity will continue from Activity 11.1. To try the project, you need to irst start
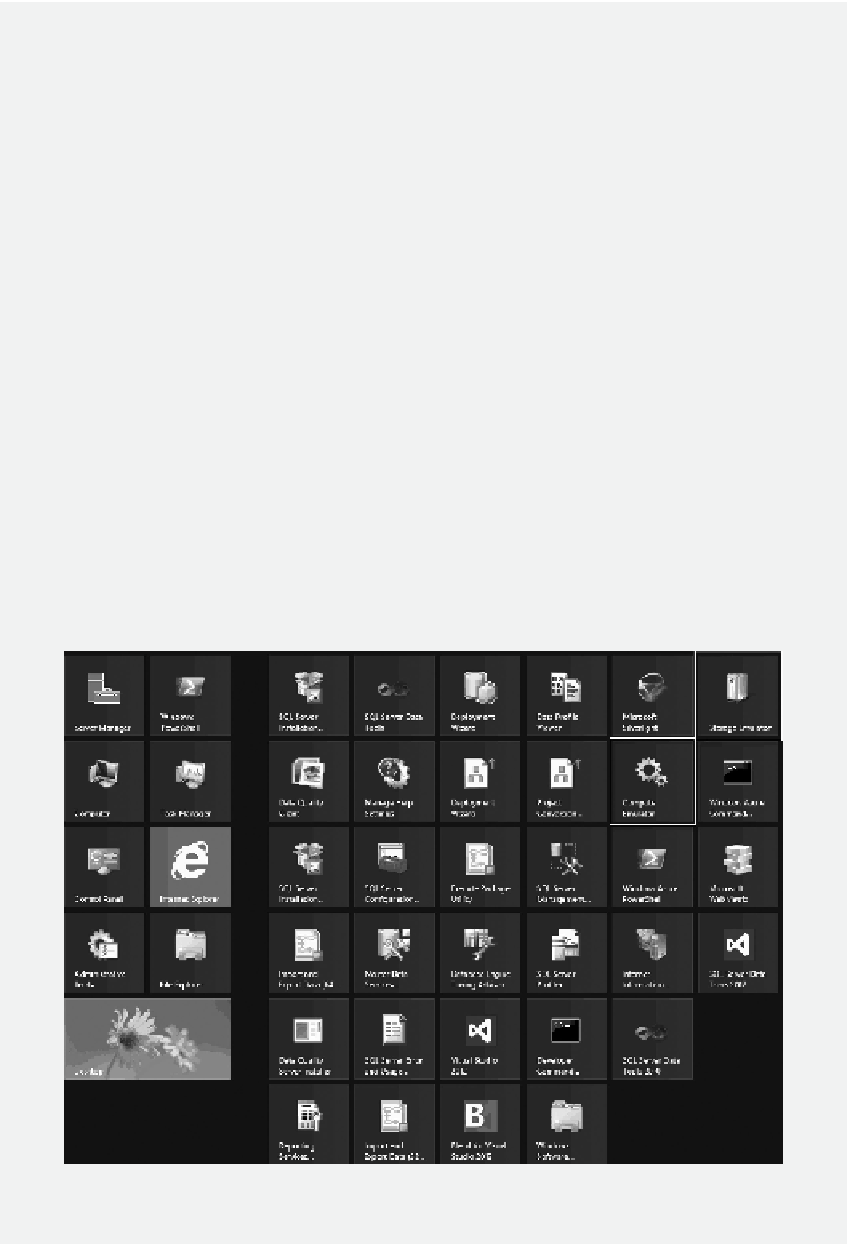
the Windows Azure storage emulator and compute emulator. Assume that the virtual
machine is still connected. Press the
Window Icon
key on the tile; click the icons of
Storage Emulator
and
Compute Emulator
(Figure 11.15).
2. To demonstrate the process of uploading photos to the Blob storage, you may need to
copy and paste some publicly available images to your virtual machine. For example,
from your local computer, you can copy some images such as
Penguins.jpg
in the
Windows 7 local folder
C:\Users\Public\Pictures\Sample Pictures
to the folder
C:\
Users\Pictures
on your virtual machine as shown in Figure 11.16.
3. On the virtual machine, assume the Design window of the Default.aspx ile is still
open. Click the
Internet Explorer
icon on the tool bar. he Student Club web page
will be displayed. Click the
radio button
to select a club and enter the information
about
Name
,
Email
, and
Major
. Now, click the
Browse
button. You will be prompted
to upload the image ile from your virtual machine. For testing purposes, let us open
the
Penguins.jpg
ile in the folder
C:\Users\Pictures
. hen, click the
Submit
button.
You should have the web page shown in Figure 11.17.
Figure 11.15
Start storage emulator and compute emulator.

